If somebody asked you to punch in a couple of lines on a vocal track that you recorded three months ago or even three weeks ago, would you remember the mic you used, the mic placement, and the rest of the vocal chain, including all settings? Most of us would probably remember some of that information, but not all of it.
That’s why it’s so important to document your setup when you finish a session. Even in this era of DAWs with total recall, there are still enough variables that don’t get recalled—like the type of mics or guitars and their pickup settings or settings on outboard gear—that documenting them in some way is critical for accurate recalls.
In this excerpt from Start to Finish: Jacquire King - Episode 10 - Recording The Lead Vocal, you’ll see how engineer Danny Pellegrini at Flux Studios creates cloud-based documentation after a vocal session, chronicling the mic choice, mic placement, outboard gear and settings that Jacquire used for the session.
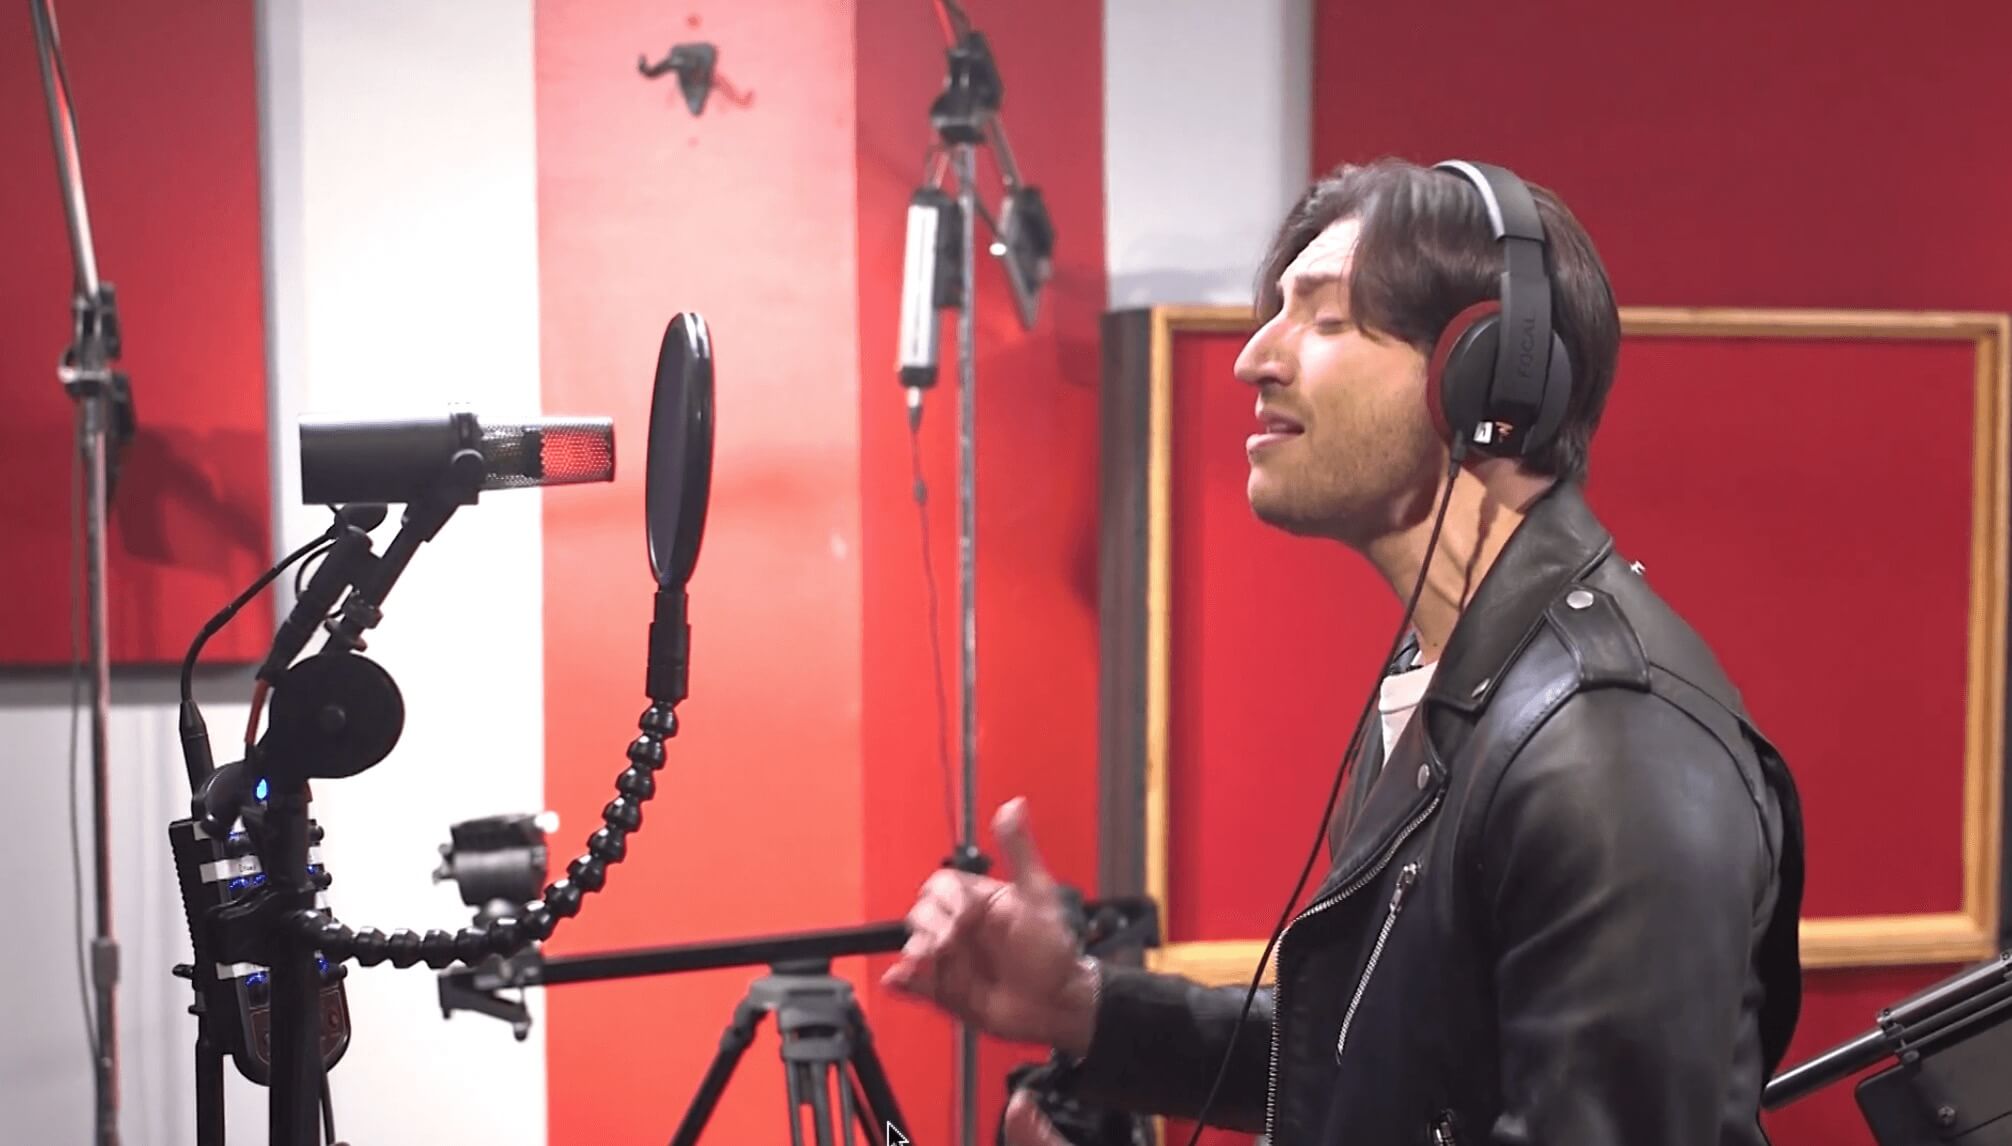
After this lead vocal session with Oak and Ash’s Rich Tuorto, engineer Danny Pellegrini documents the vocal chain and settings in case a re-sing is required.
Providing Your Input
When the excerpt begins, Danny is sitting at the console after the lead vocal session. Although the session was successful, there’s always a chance they’ll decide later to punch in a word or line. That’s why he’s taking the time to create a record of all the gear and settings.
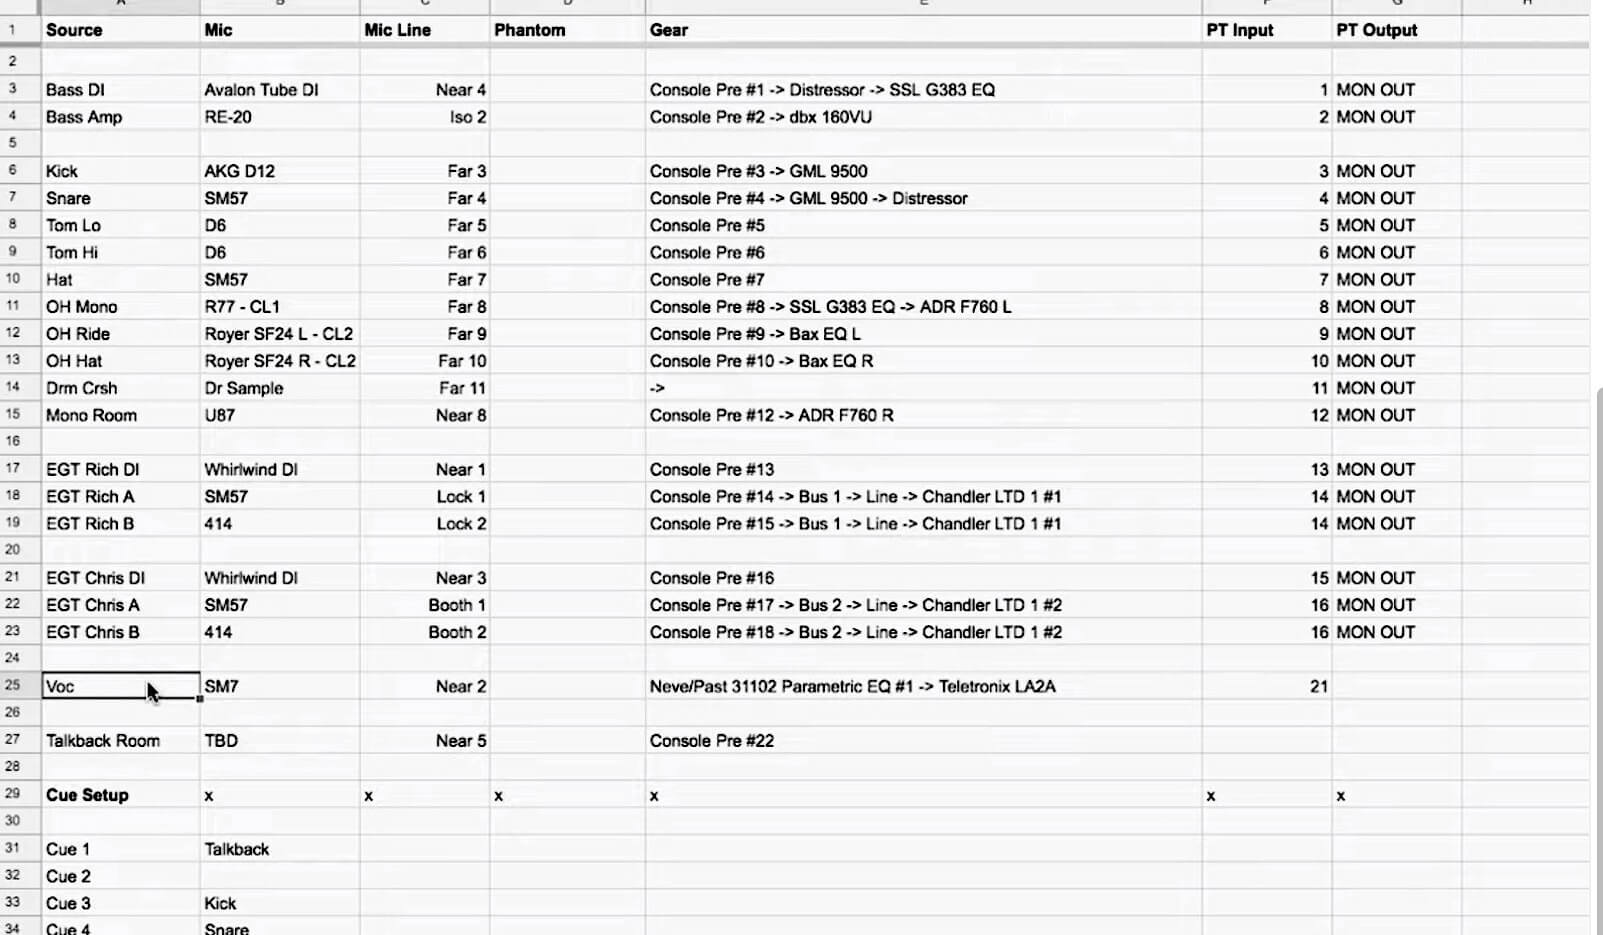
Danny consulted this input sheet to confirm the gear used in the vocal chain.
At Flux Studios, they use a lot of outboard gear both on input and during mixes, so having a system to archive the settings from those units at the end of a session is essential. Back in the days before everyone had a camera in their cell phone and access to a cloud-based storage service, session documentation of outboard gear revolved around what were called “recall sheets.”
These were generally custom-made paper templates that depicted the controls on a given device. A studio would make them for all their gear and keep printed copies on hand. At the end of a session, an assistant engineer or intern would pull out the correct recall sheets for the hardware used and mark down all the settings.
If it was a console-based studio, they’d have recall sheets for marking the positions of the knobs and faders on the console (unless the console had fader automation, in which case only the position of the knobs and switches needed to be documented). When it was time to recall a session, the assistant or intern would have the tedious job of restoring the console and outboard gear to match the recall sheets. Achieving 100-percent accuracy was not easy.
Here in the DAW era, we’re fortunate that all the mixer data is saved inside the session file. But depending on your studio setup and workflow, you may still need to document settings on outboard gear.
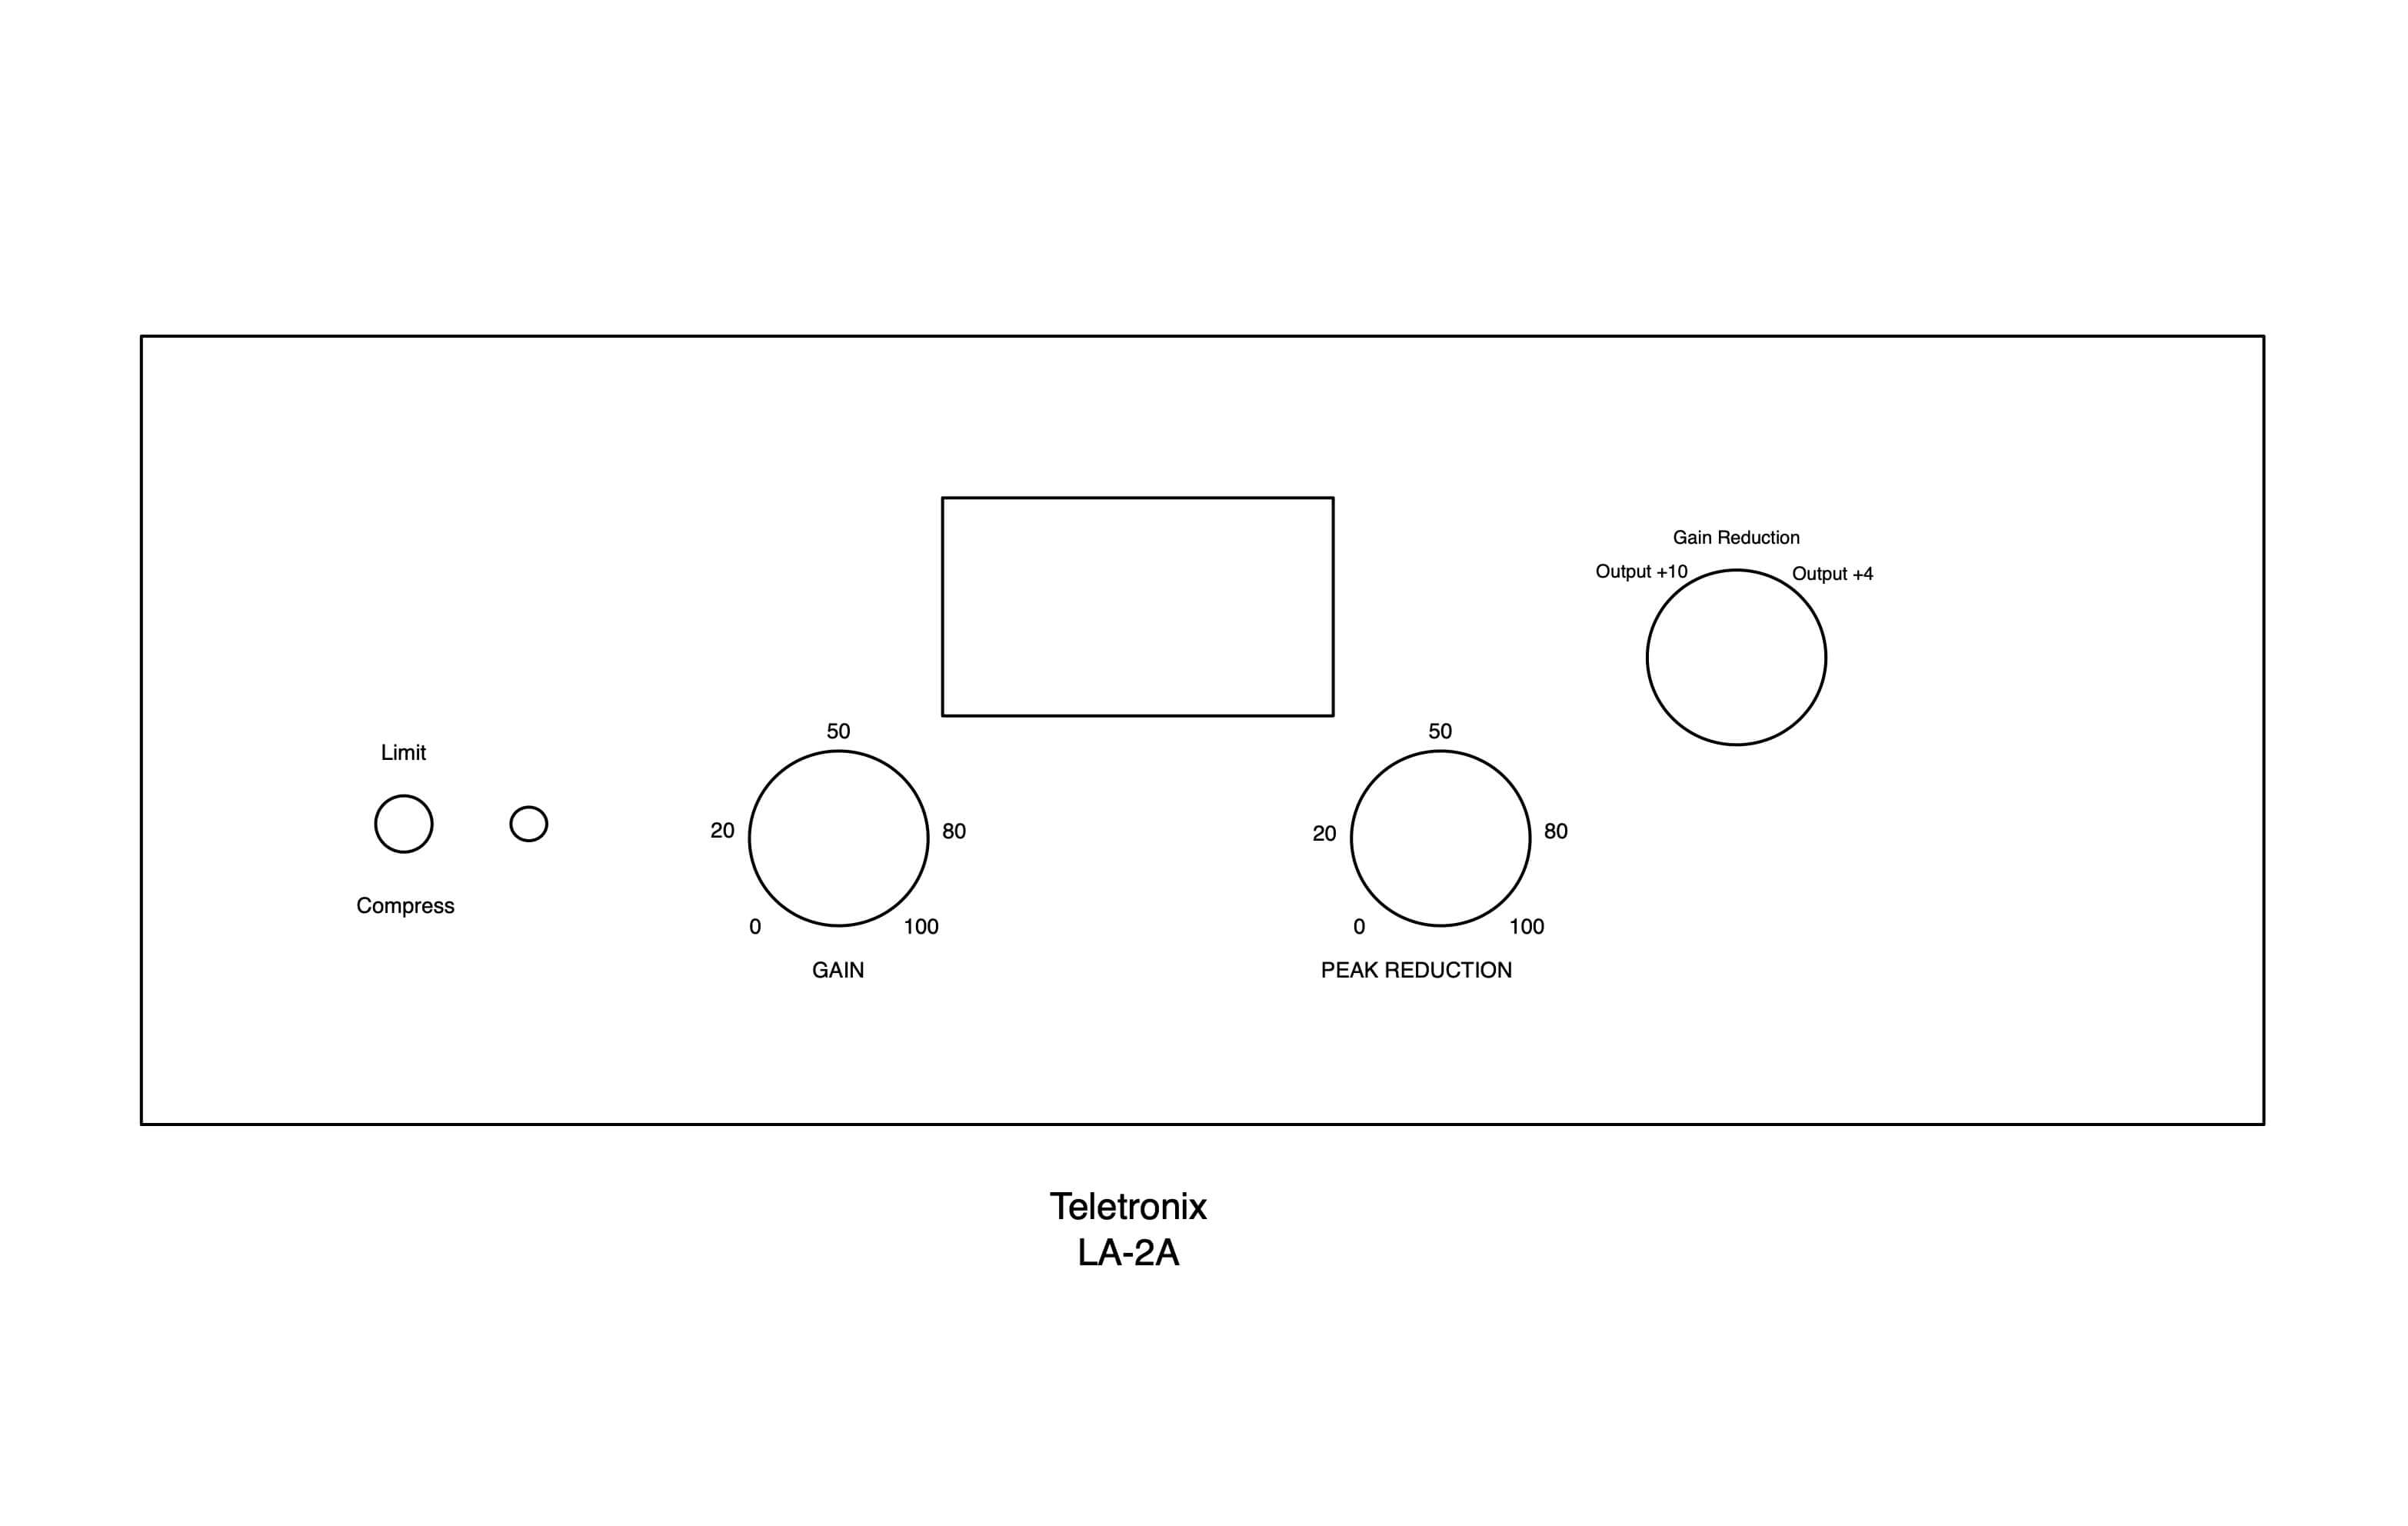
Recall sheets used to be the main method for documenting outboard gear settings..
Down the Chain
In the excerpt, Danny shows how he first checks the input sheet to confirm what gear was in the vocal chain. The sheet, which is spreadsheet-created, shows all the inputs and any outboard gear used in the session.
He then uses his cell phone camera to take pictures of the settings on each piece of gear. The just-completed lead vocal session used a Neve/Past 31102 preamp and EQ and a Teletronix LA-2A compressor after the mic and before the Pro Tools input.
Rather than taking one pulled-back picture for each piece of gear, which could make reading some settings difficult, he takes an individual shot for each knob so that its position will be clearly shown. He also walks into the live room and takes a picture of the mic and its placement in the room.
Next, he uploads the photos to a folder he’s set up on his Google Drive for the session. The folder name includes a session description and a date. In this case, he goes into a folder for the Oak and Ash project and creates new folders called “Rich Voc OD Verse 2019-4-10” and “Rich Voc OD Chorus 2019-4-10.”
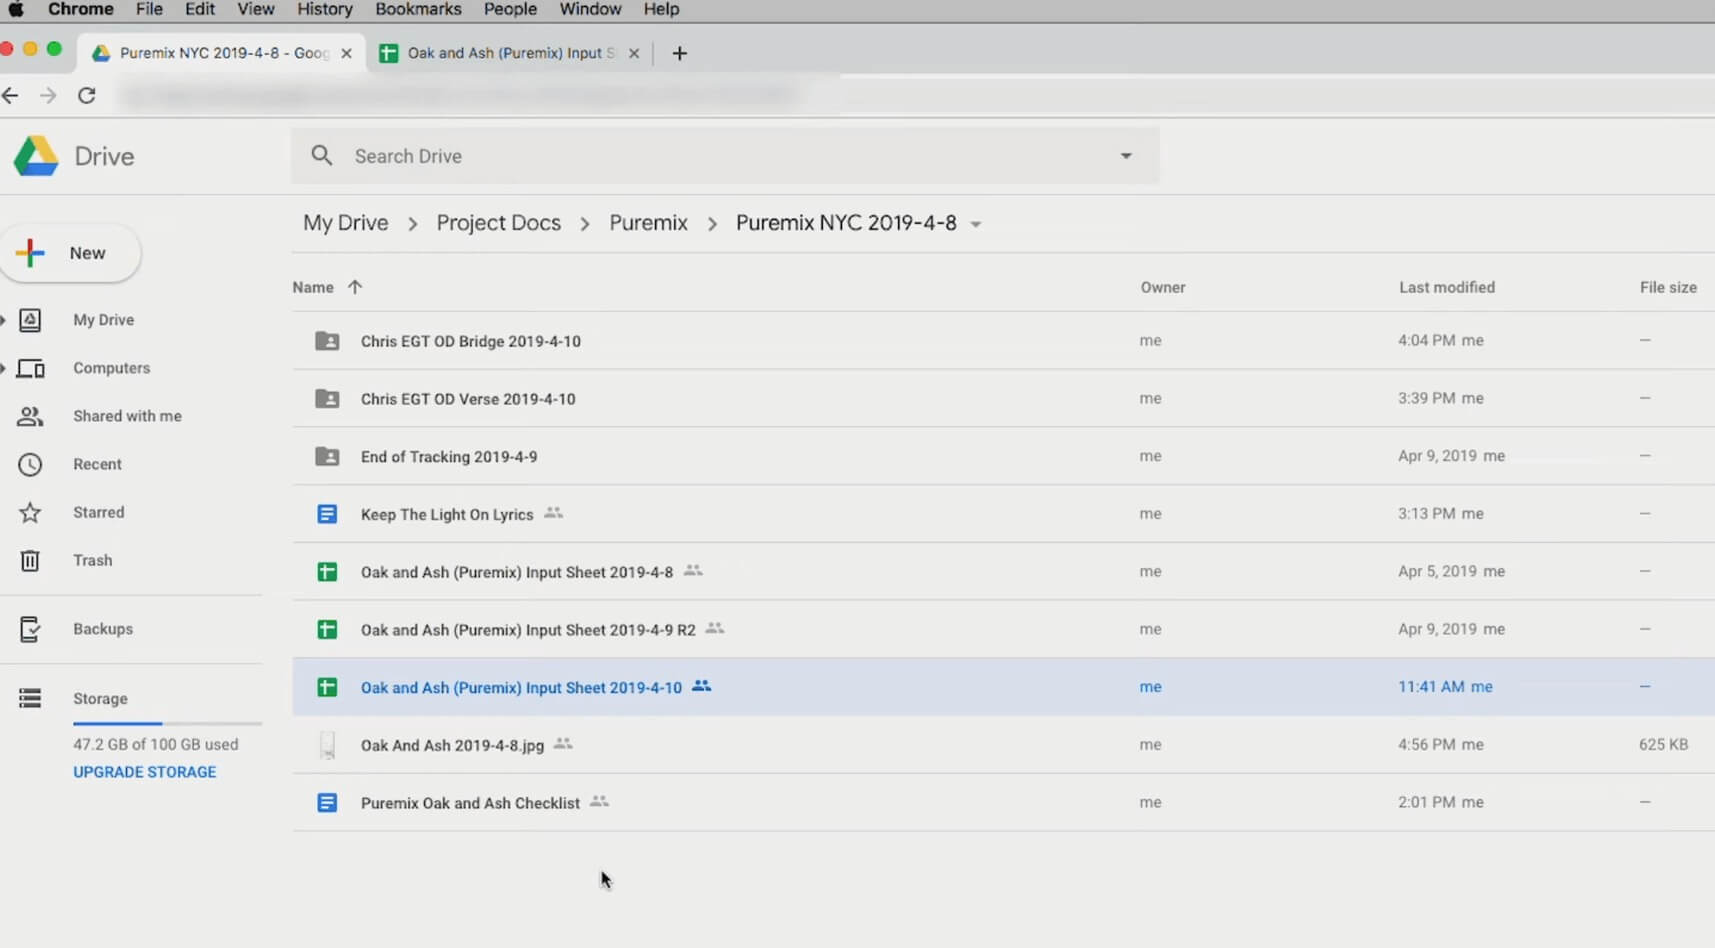
Danny saves photos of outboard gear settings, input sheets and other project documentation to a session folder he created on Google Drive.
The reason for the separate folders for verse and chorus is that the gain setting was different on the Neve between the two. Had it stayed the same, he could have just created one folder for the whole session.
Noted and Logged
Perhaps you’re thinking that you work strictly in the box you don’t need to document to the extent they do at Flux where they have all that outboard gear. If you’re recording audio, that still leaves your mic and mic preamp to document. Though not as big a deal, it’s still important. You could take a couple of pictures showing those settings after each session and save them in a folder on your computer, even inside the session folder, if your DAW allows that.
Consider, though, that you may have other information that doesn’t get saved automatically in your DAW session. If you’re recording guitars, you should note the guitar (if you have more than one), the pickup setting, and any volume or tone-knob settings that are below fully up on the instrument. If you mic’ed an amp for it, you’ll need to write down the amp settings, mic used and mic-pre gain settings.
If you recorded the instrument DI, you could get by noting the guitar and pickup-and-knob settings in the comments field in your DAW. Pro Tools includes a convenient, track-based comment feature. Most DAWs have some way to enter text, but sometimes it’s only a global comments section, such as in Logic Pro X, rather than one that’s separate for each track.
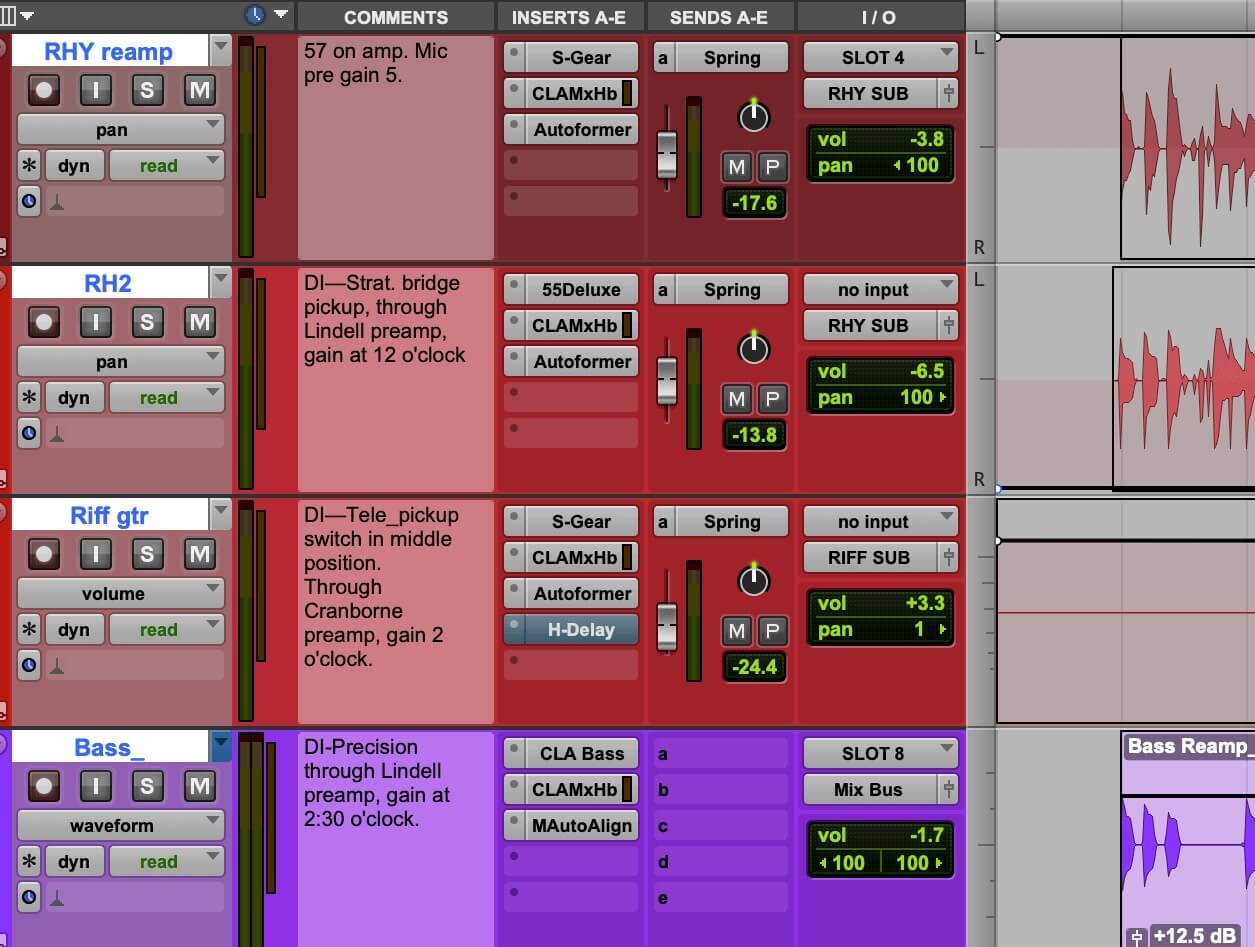
Pro Tools Comments section is useful for noting track-specific information.
Pencil and Paper
Later in the same video that this excerpt came from, Flux engineer Kolton Lee describes how he creates a “notes comp,” of the lead vocal track from “Keep The Light On.” What’s a notes comp? It’s a vocal comp that uses notes taken during the listening session when Jacquire and the band reviewed the various vocal takes.
As they listened and commented, Kolton took the notes on a pad of paper and wrote down what Jacquire and the band members concluded. The notes are detailed enough that he’s able to construct a full vocal comp based solely on the info he wrote down.
Kolton says that he uses a pad rather than a computer for his notes so that they’re always accessible for anyone in the session. He always leaves the pad on the console, so everyone knows where to find it. That way, when he’s out of the room or not at the studio, the notes are still accessible and no passwords are needed.
Mix and Match
Even though it might seem a little “old school,” to use pen or pencil and paper, it’s quite an efficient way to capture information. If you keep a small notebook on your studio desk, you can use it to write down critical session information.
In addition to noting takes in a multi-take situation, the most important use of hand-written notes is when you’re checking a mix. Jot down your comments as you listen so that you will remember what you need to tweak. If you want, you can either transcribe these to your computer later. Or you can take a photo like Danny did, and upload the notes to your session folder.
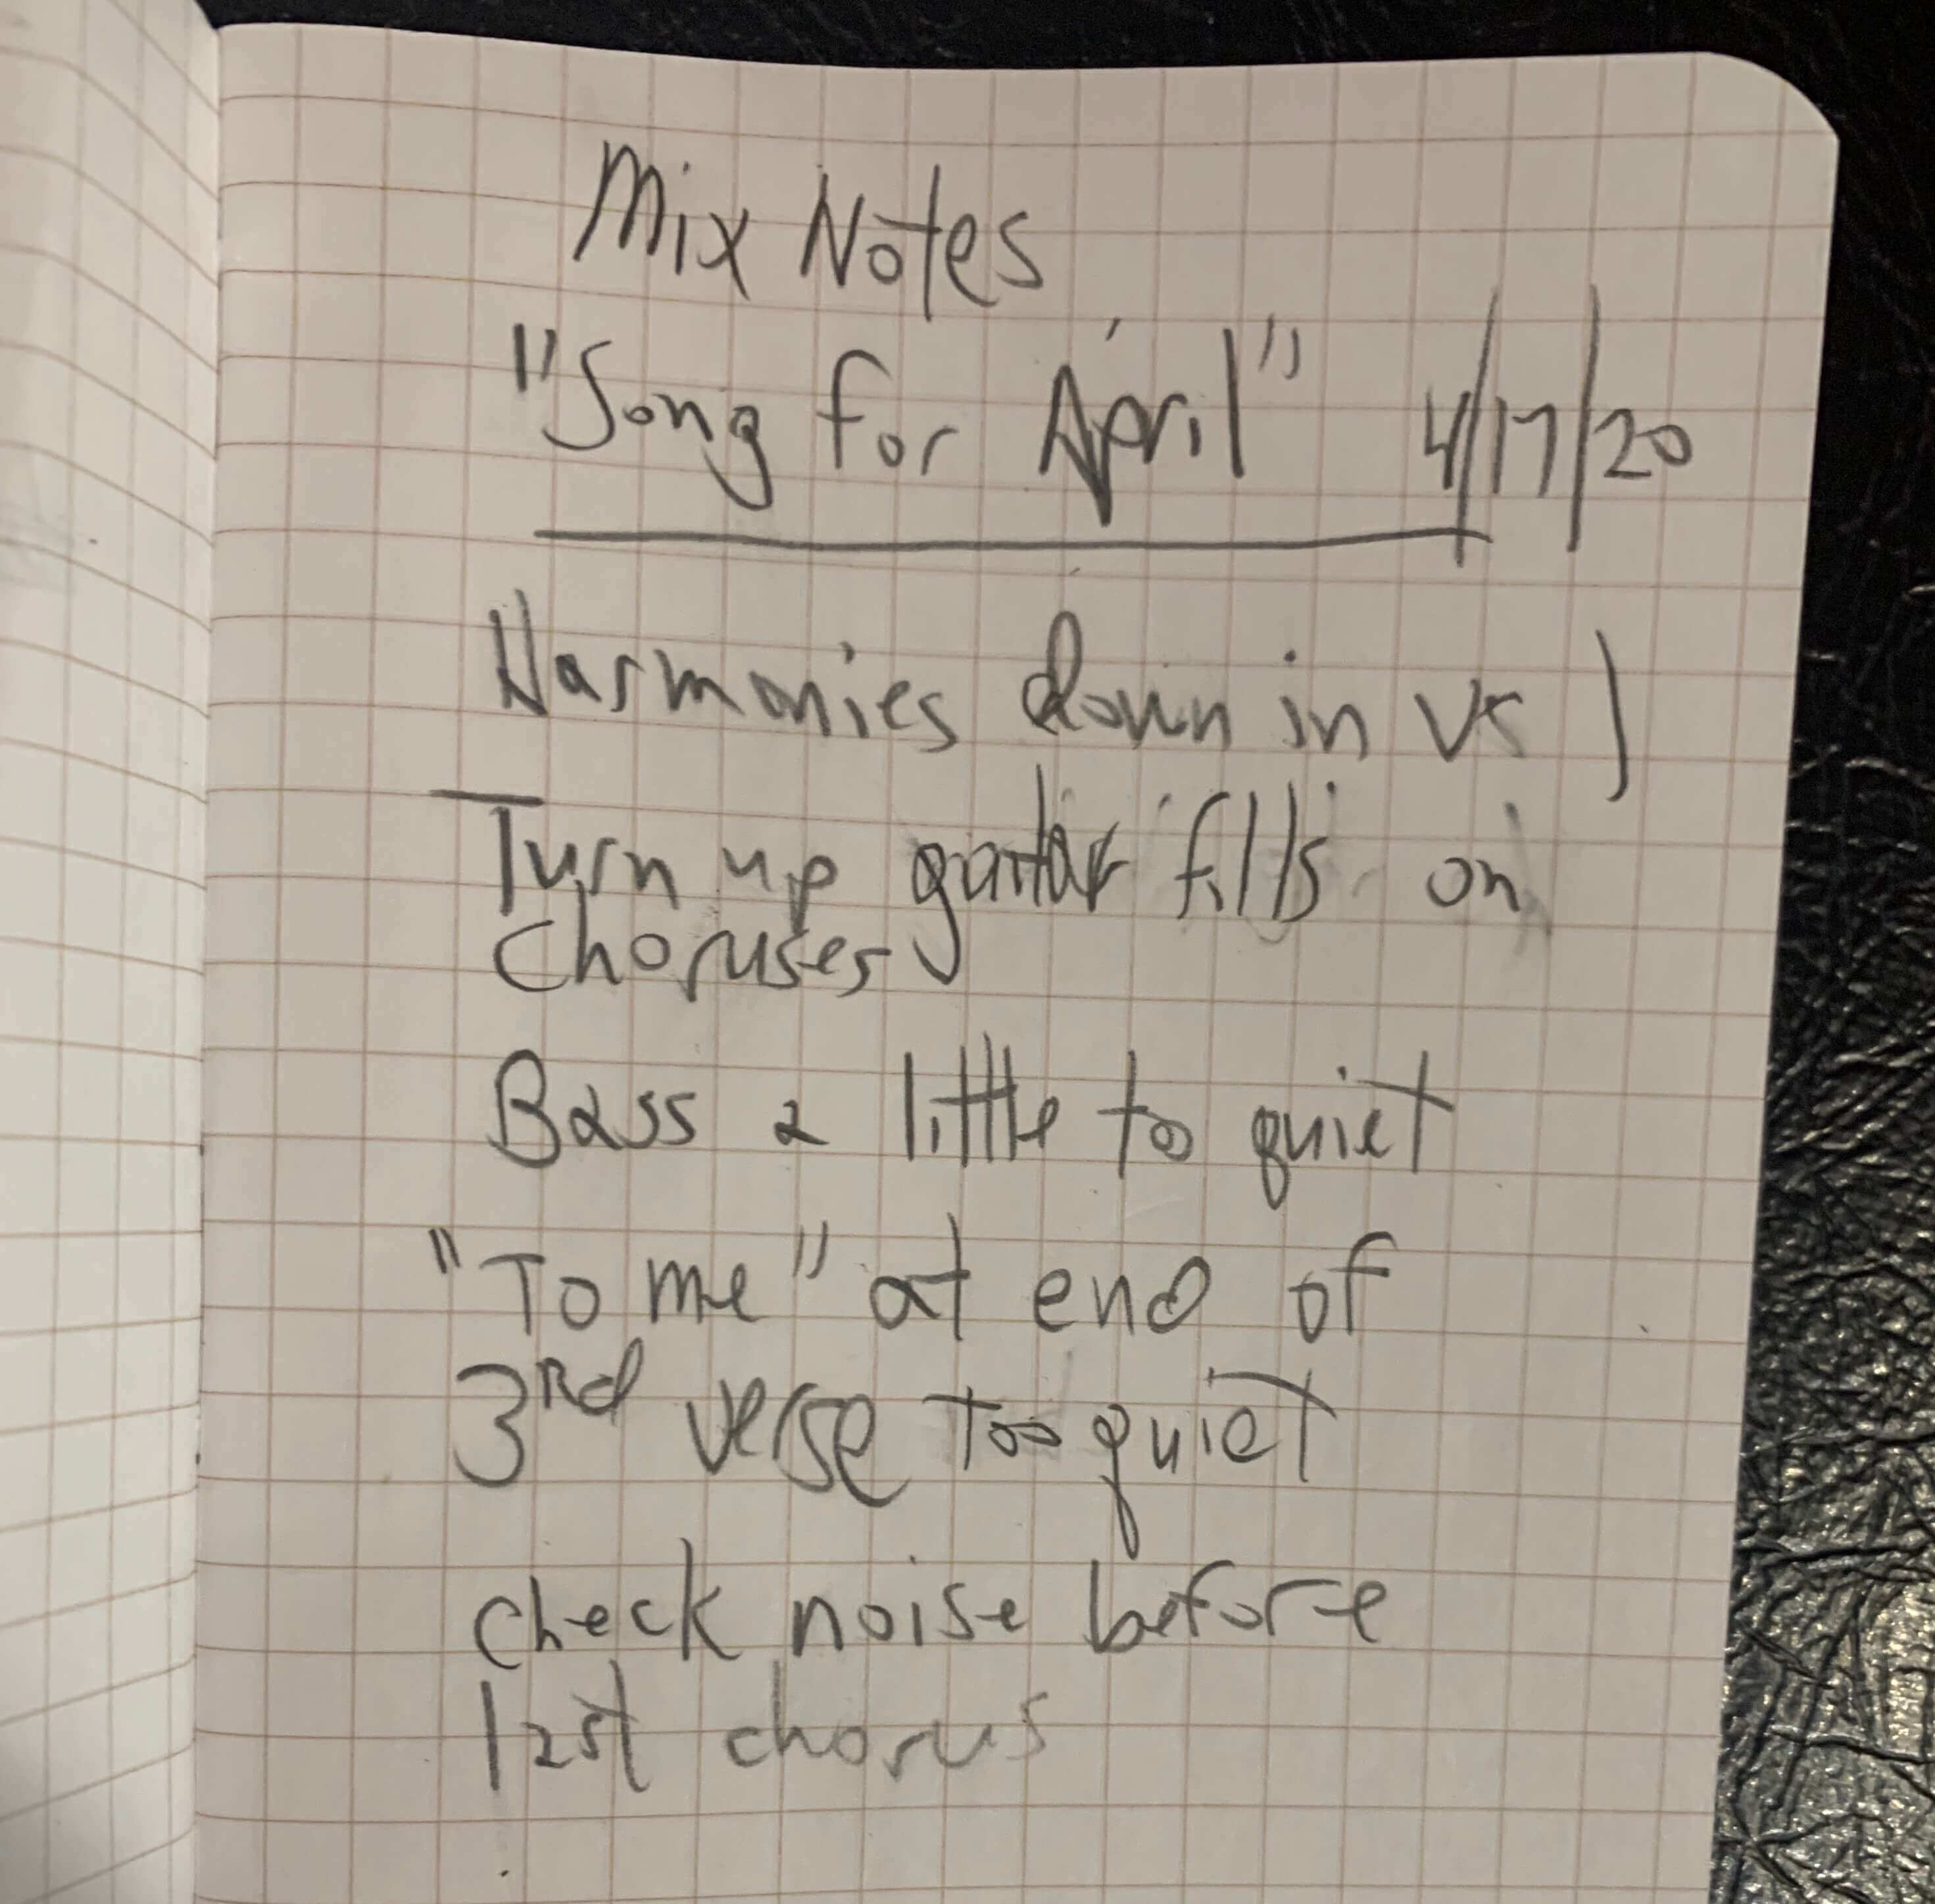
It may not be pretty, but jotting down mix notes can be quite handy.
If you’d prefer taking notes on your phone or laptop, that’s fine, as long as you can type them in fast enough to get all the info down that you need before you forget it.