One of the most potent aspects of Ableton Live is how it facilitates experimentation and creativity. In this excerpt from Start to Finish: Ill Factor - Episode 6 - Working On The Top Line & Loop Workflow, we find ill Factor taking advantage of Ableton Live’s flexible capabilities. While playback is looping so that singer Jared Evan can work on the lyrics, ill Factor records a guitar part.
Looping and Vibing thanks to Ableton
Adding “icing” without changing the vibe
The song already has a virtual guitar track in it, but ill Factor figures that a real guitar will work nicely, too. He stresses that he’s not adding anything that will change the vibe at this juncture in the production. Instead, he’s looking to add tracks that will enhance the overall feel. In other words, the icing on the top rather than anything foundational.
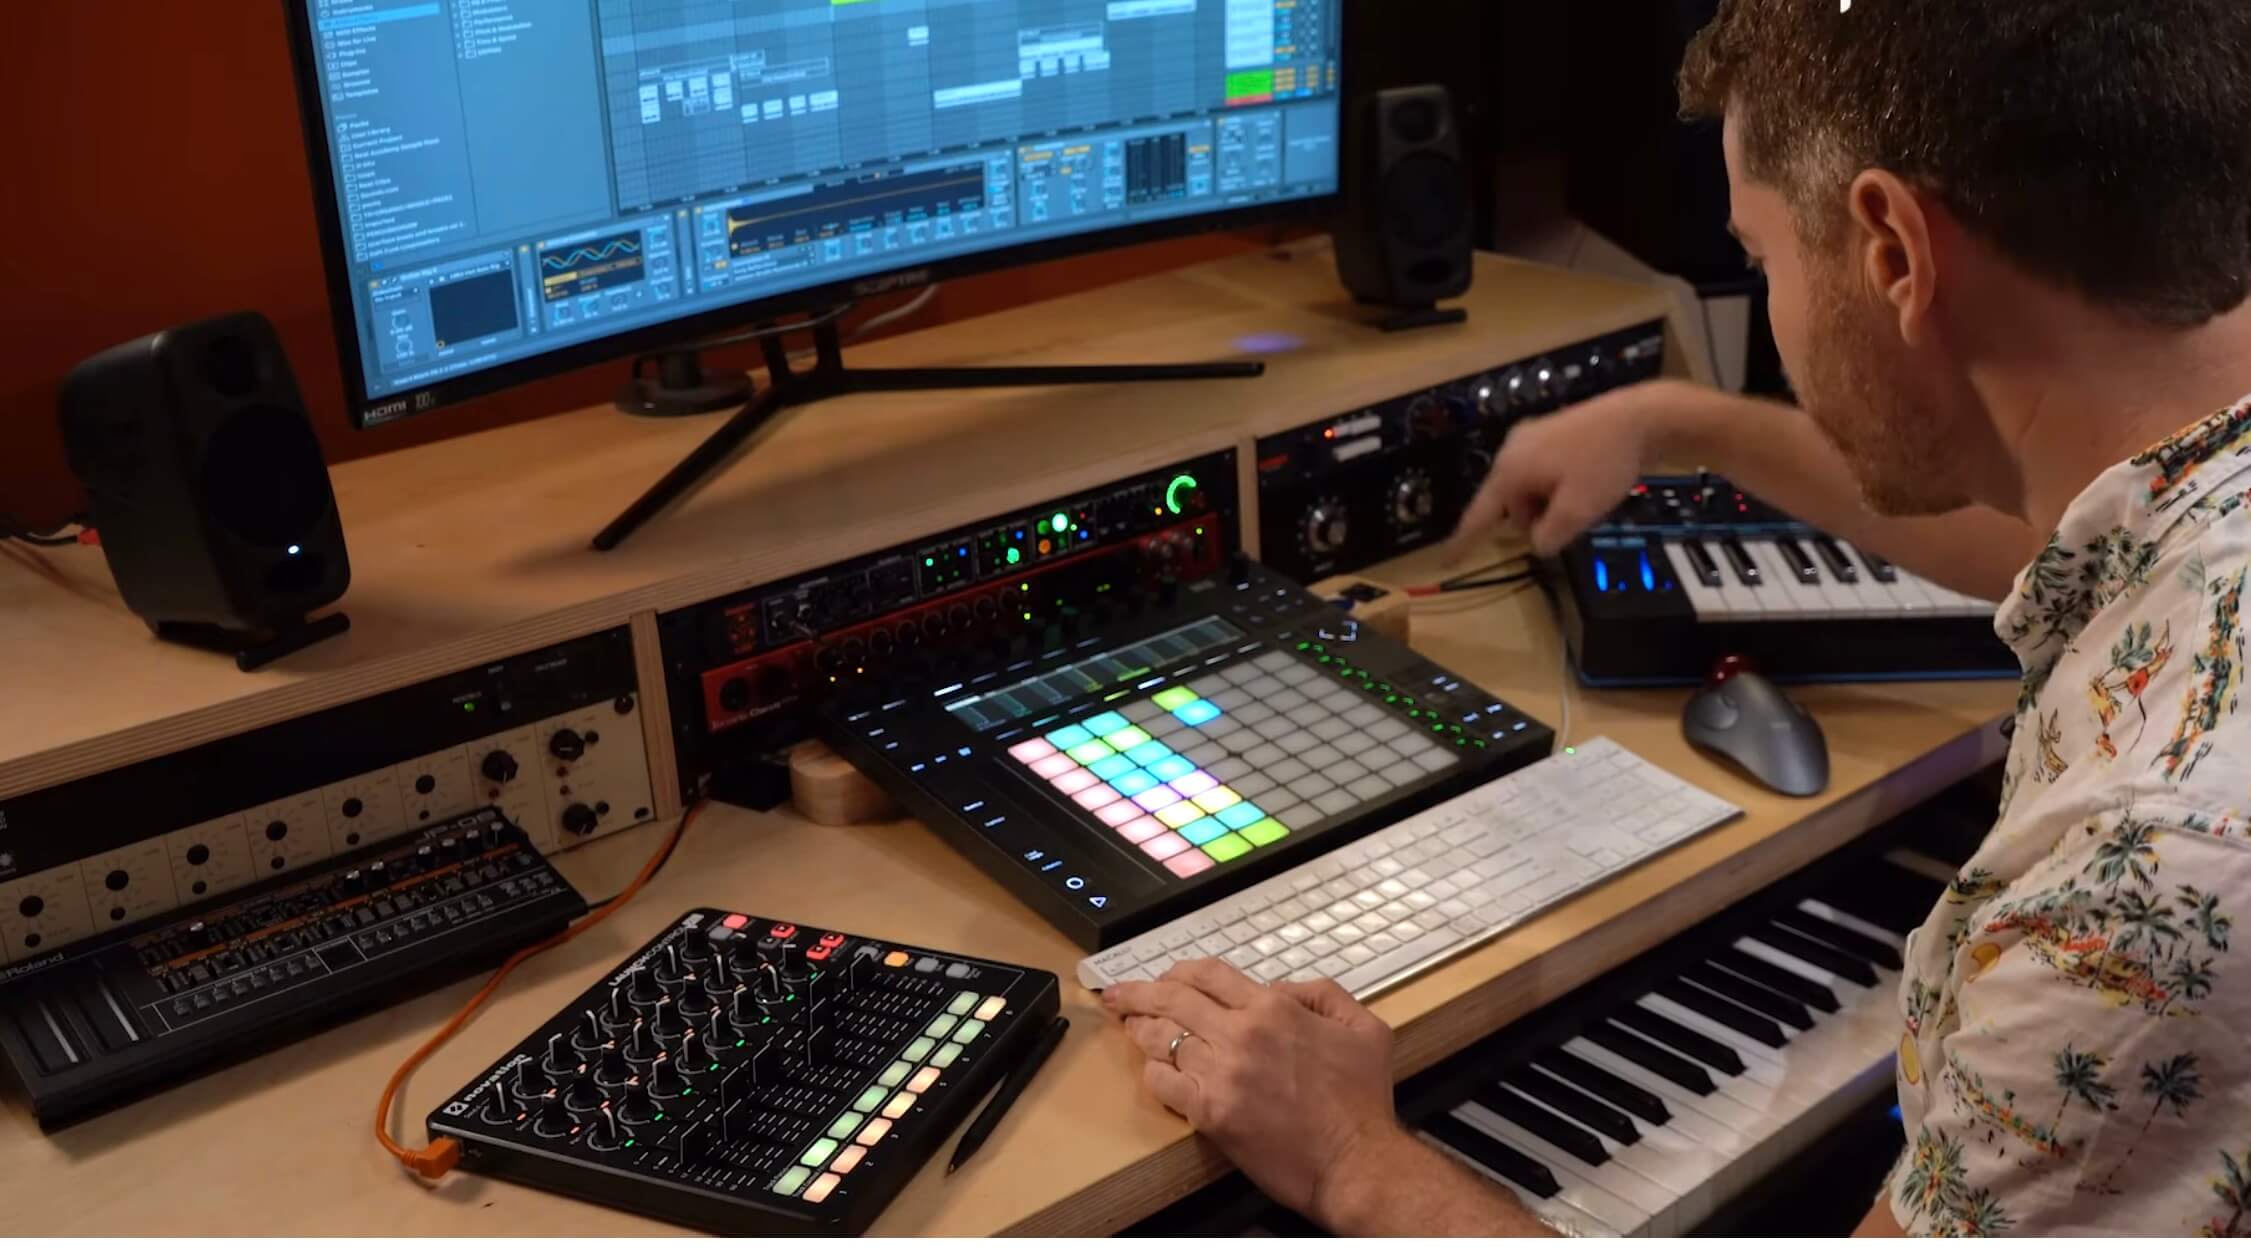
Ill Factor about to hit a button on his Ableton Push controller.
The guitar part and the instrument choice
His guitar track consists of a simple single-note part with an eighth-note feel, recorded with a Fender Squire Telecaster. The Squire is not an expensive instrument, but he fortifies its sound with outboard gear and software.
Tracking chain: WA-73 into WA-76 before Ableton
He overdubs the guitar directly through a Warm Audio WA-73, a Neve-style preamp and EQ, and then a Warm Audio WA-76, and an 1176-style FET compressor. Once the signal is digitized, and inside Ableton Live, he uses a chain of plugins to shape the guitar sound further.
The Digital Chain on Ableton
Guitar Rig 5 first, then Live effects
The first plugin in the chain is Native Instruments Guitar Rig 5, set to a model based on a Vox AC30. The rest of the effects are all from Live’s collection. The first is the Compressor, which will help smooth out the dynamics of the part.
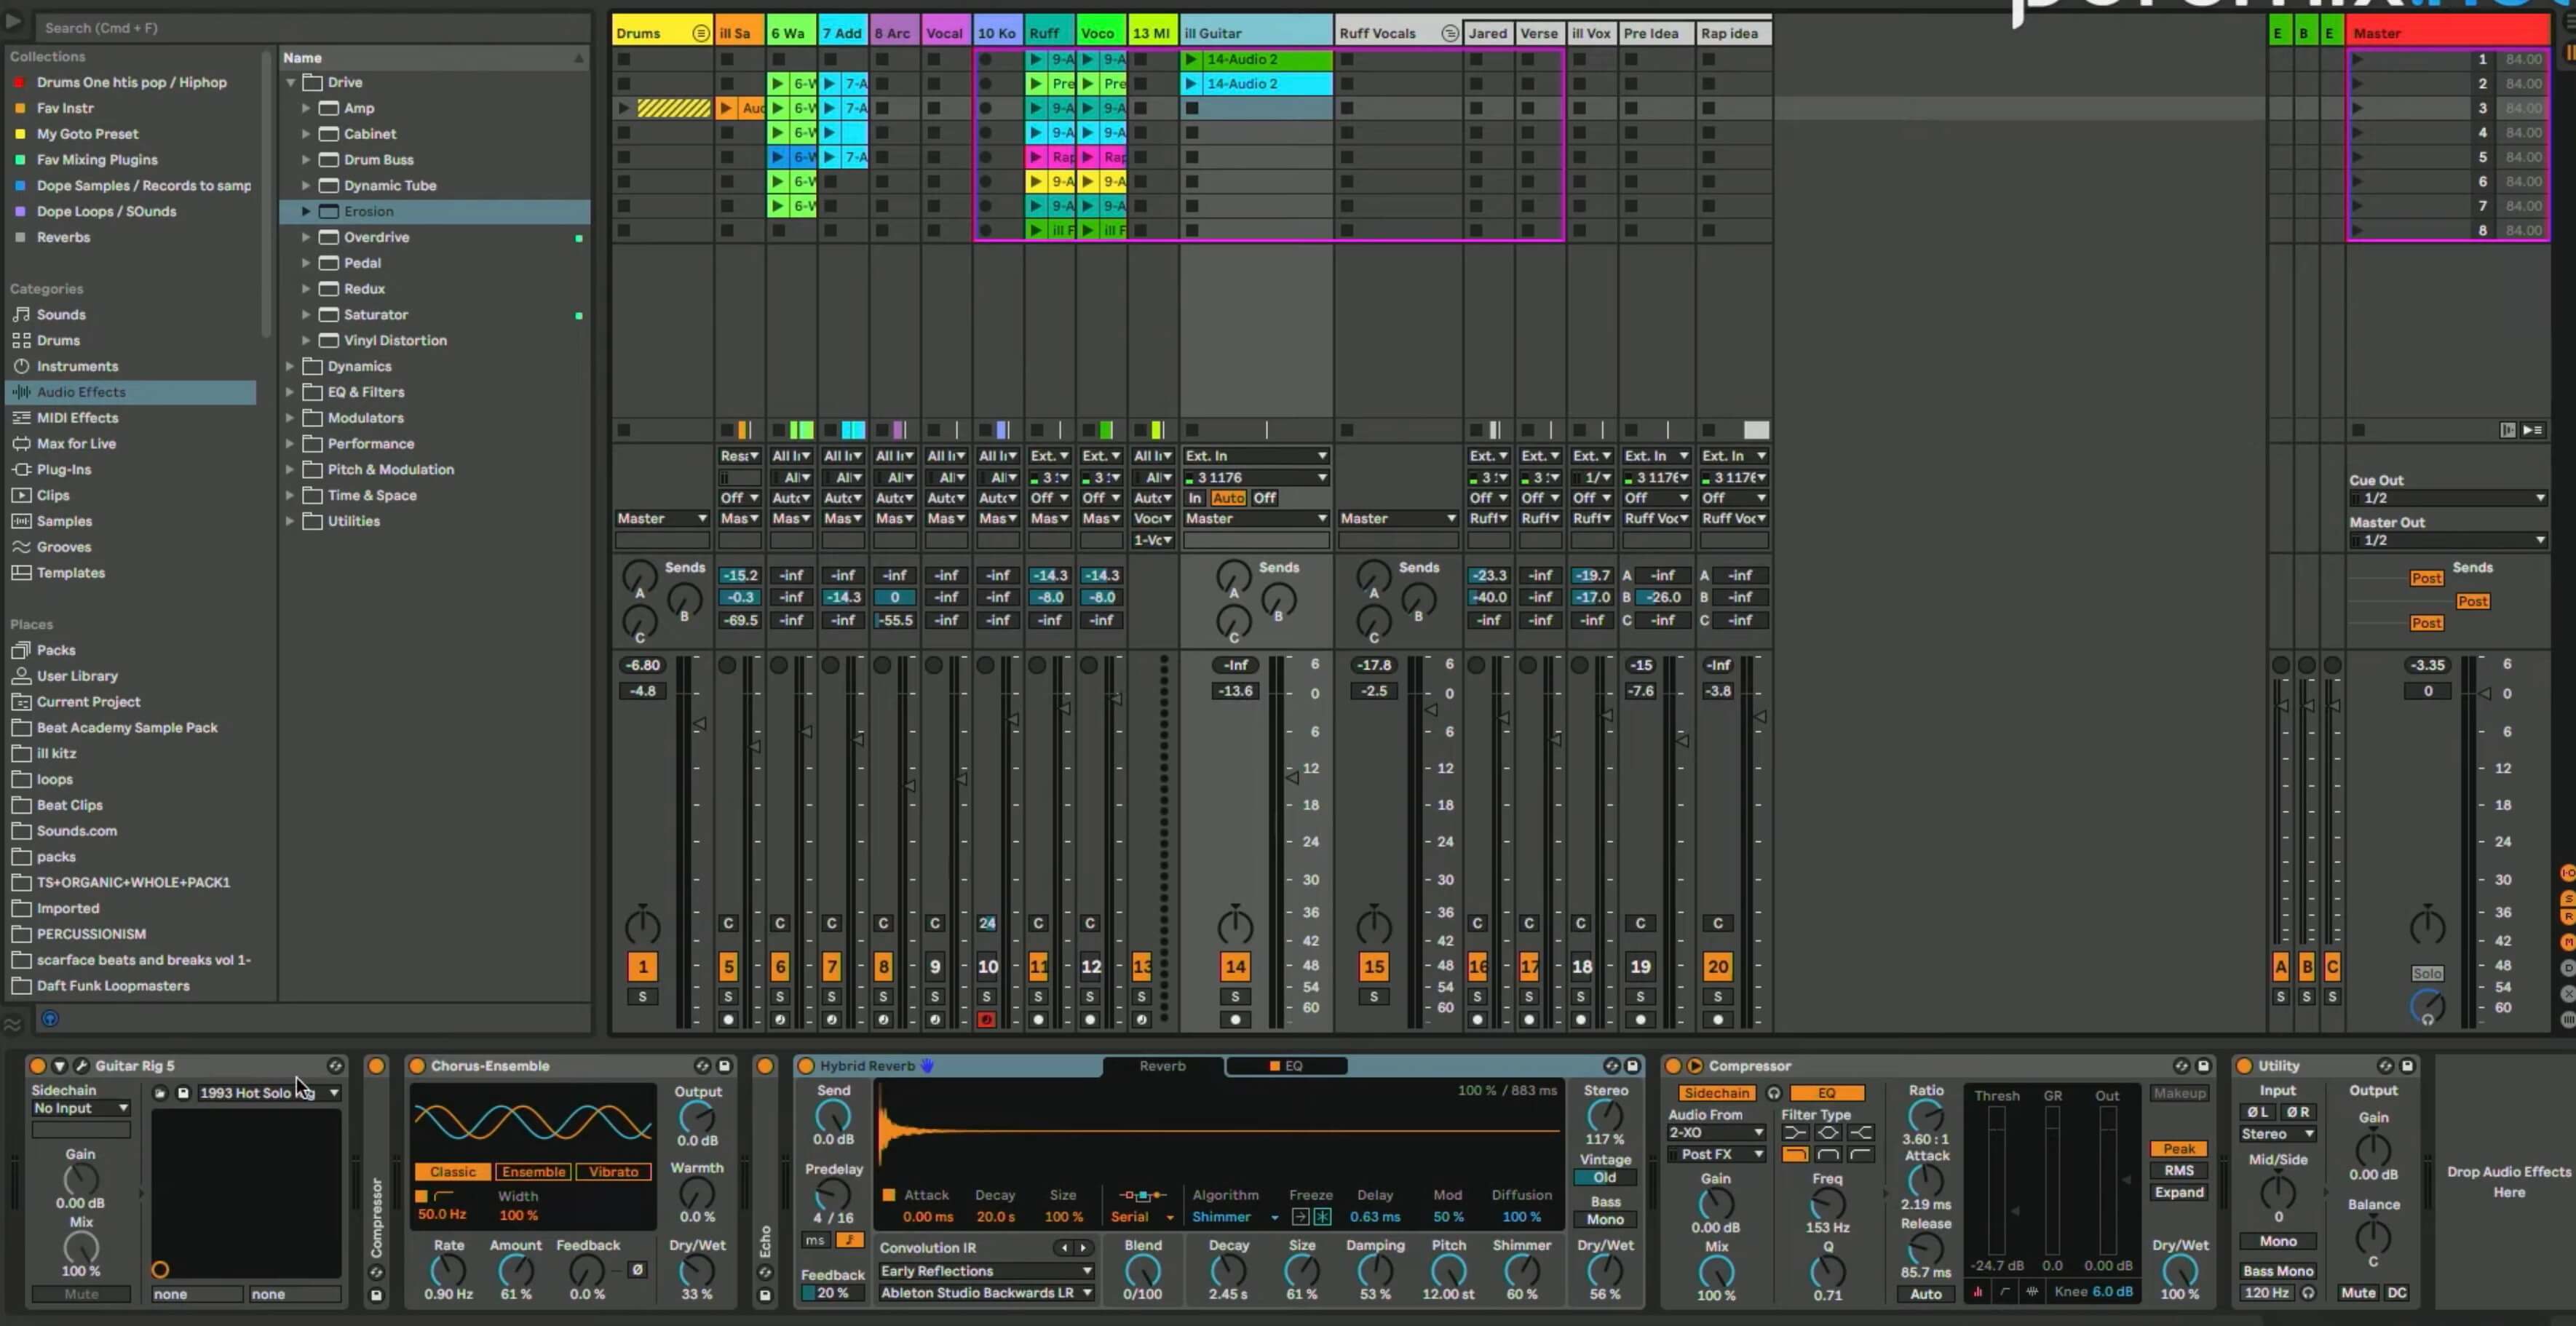
At the bottom is the guitar effects chain ill Factor used for his part.
Chorus/Ensemble and Echo with filtered delays
Next up is Ableton Live’s Chorus/Ensemble plugin, set to Classic mode. After that is the Echo plugin, creating a stereo delay synced to 1/8 notes of the project tempo. Ill Factor mentions how much he likes this plugin, in part because of its Filter feature. He prefers to filter out the low end of delays (presumably to avoid a muddy sound). He ends up setting it to roll off below about 460Hz.
Hybrid Reverb with tempo-synced predelay and EQ
The next processor in the chain is Ableton Live’s Hybrid Reverb (available in Ableton Live Suite only) which combines a convolution reverb with an algorithmic one and lets you set the ratio between the two. He combines an IR called Ableton Studio Backwards with a slight bit of the Early Reflections algorithm.
Hybrid Reverb includes a predelay that can be synced to the project tempo, which is a feature that’s surprisingly missing on a lot of reverb plugins. He sets that to a quarter-note length, which allows the note to poke through before the reverb kicks in. Also, he uses the reverb’s built-in EQ to high-pass the bottom, rolling off below 307Hz, and boosting the top with a shelving EQ starting at about 3kHz.
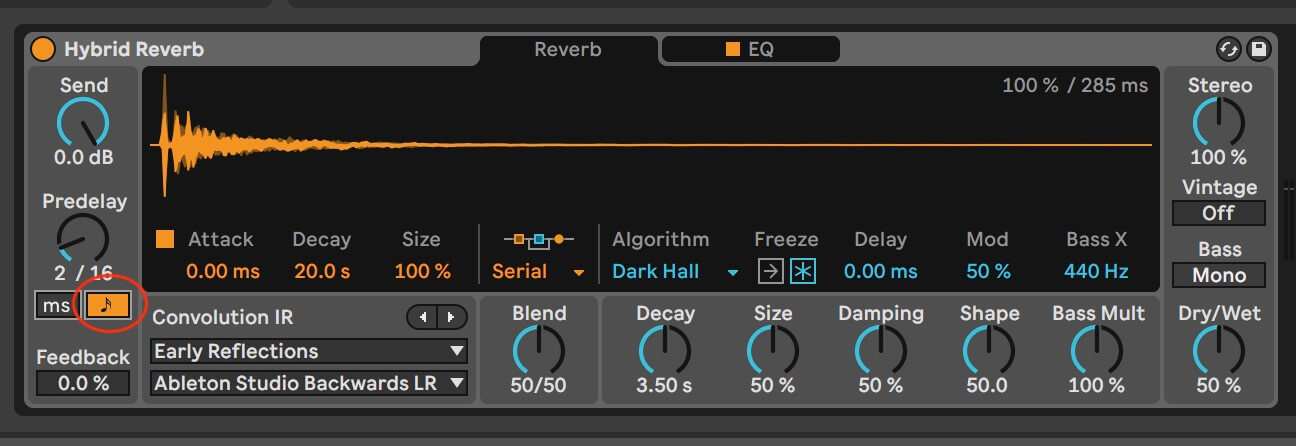
Ableton Live’s Hybrid Reverb features a predelay that you can sync to the session tempo (button highlighted).
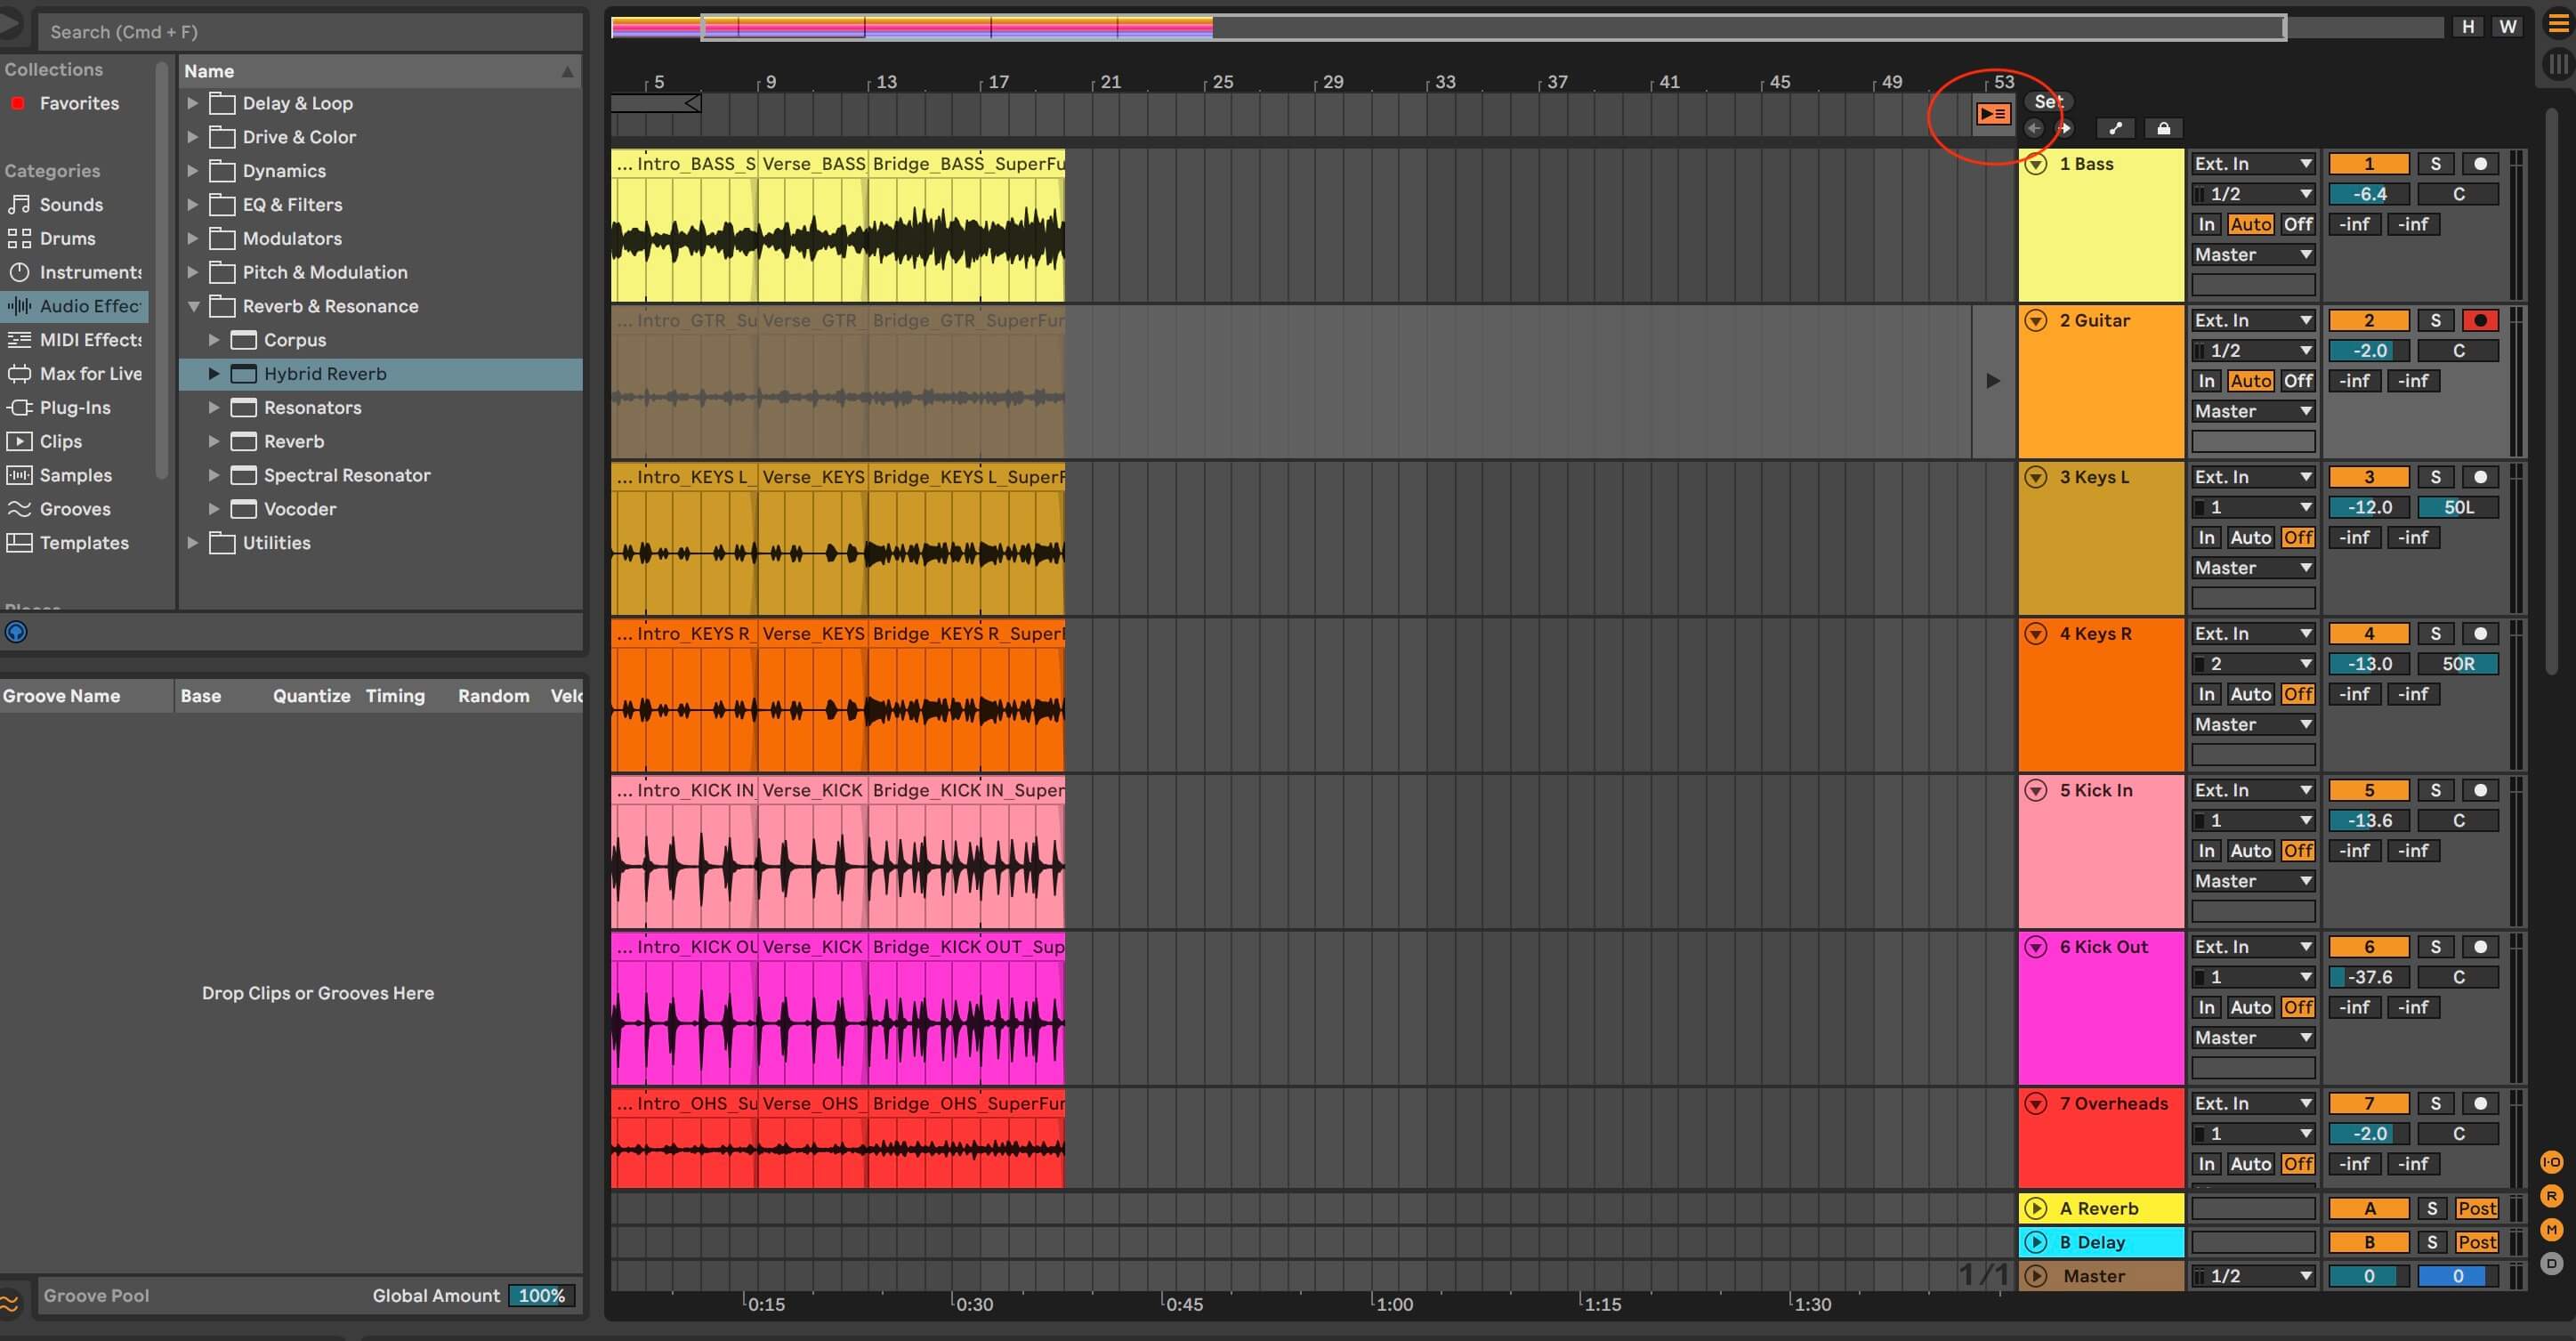
Triggered by Kicks in Ableton
The last processor in the chain is another Compressor instance, but this one is configured to be triggered by the drums through the sidechain. He wants the kick to trigger it, but there isn’t a separate kick track, only stereo drums.
Sidechain workaround when drums are stereo
His solution is to use the Compressor’s EQ to take out everything above 145Hz from the sidechain in Ableton, leaving mainly kick because it makes up most of the signal that low down. Whenever the kick plays, it triggers the Compressor, which ducks the guitar temporarily, helping give it a pulsing sound. He says the part adds motion, character and atmosphere to the arrangement.
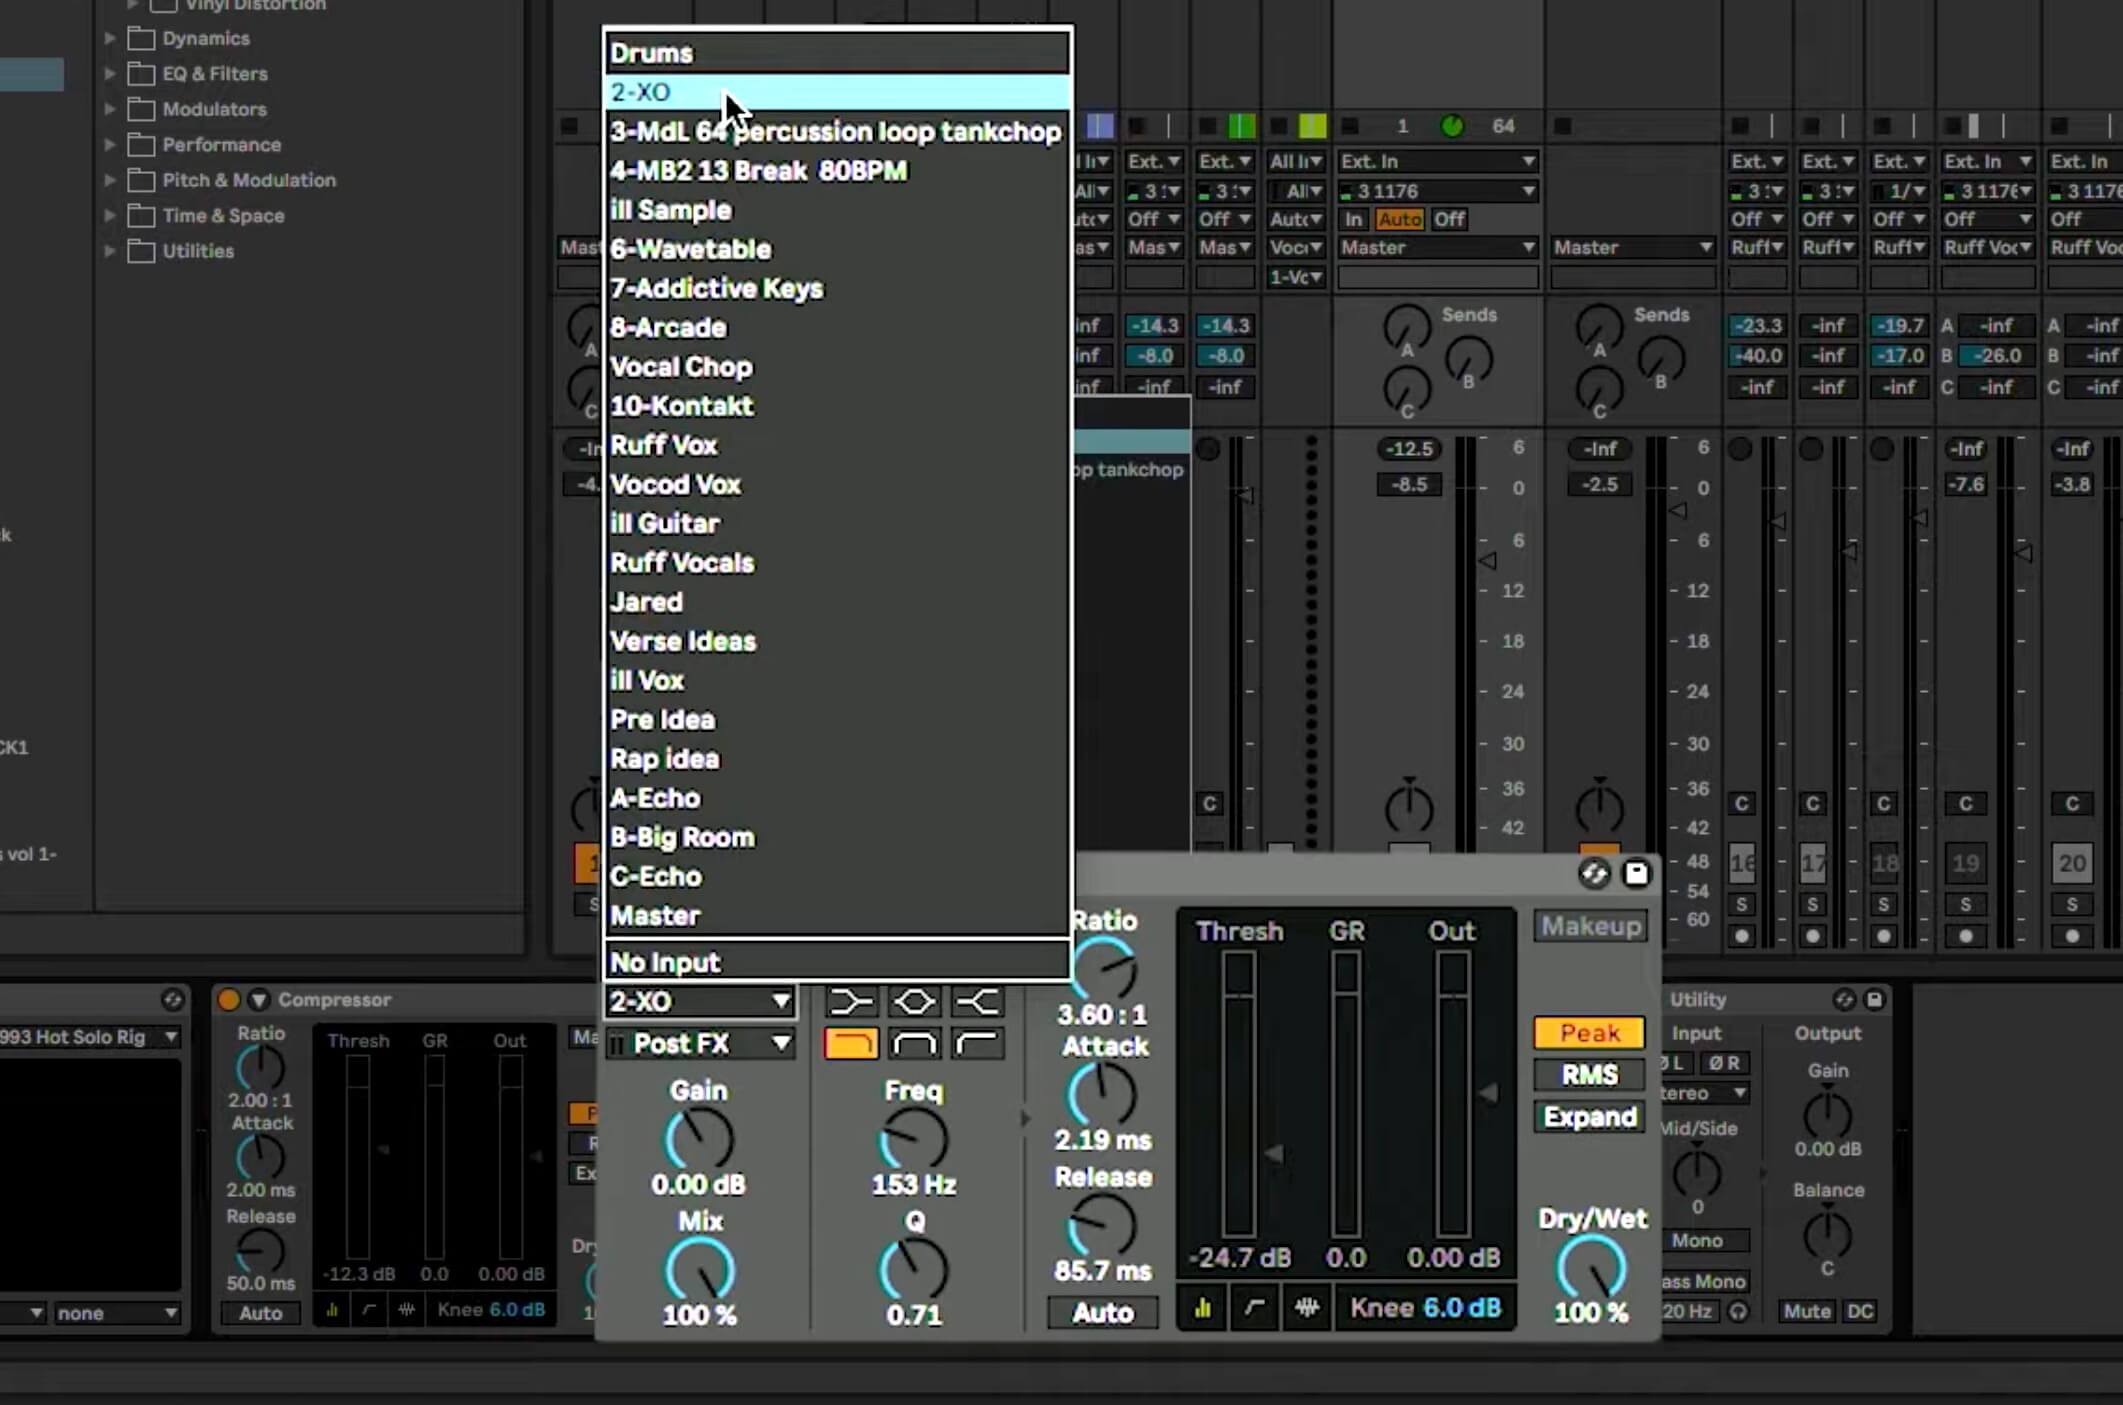
Choosing a sidechain source for the guitar compressor in Ableton Live.
Flip it Back thanks to Ableton: Session View vs Arrangement View
By working in the Session view in Ableton, ill Factor can try different ideas out without necessarily recording them to the Arrangement View. That ability is one of the aspects of Live that makes it unique and powerful.
Arrangement Record and why the Arrangement can be empty
When you start a new Ableton Live set (session) and work in the Session View, the Arrangement View will remain empty until you record into it using the Arrangemet Record button at the top of Live’s GUI. It will capture whatever clips you trigger into corresponding tracks in the Arrangement View.
Grayed-out tracks, disclosure arrow, Back to Arrangement
If you create a Clip in the Session View after you’ve got tracks in the Arrangement View, Ableton Live indicates that by graying out the track in the latter. If you want to revert to the arrangement you had before your Session View experiments, you just click the disclosure arrow on the track in question.
Alternatively, you can click on the Back to Arrangement button, which, if it’s lit, tells you that what’s recorded in the Session View differs from what’s in the Arrangement View. Pressing the button reverts what’s on the grayed-out track to its previous state.
If the Back to Arrangement button is visible, it means something was recorded on that track in the Session View that’s not currently in the arrangement.
Dropping the guitar clip into the Arrangement
After ill Factor records his guitar track, he imports it into the Arrangement View by clicking on its Clip in the Session View and hitting the Tab button. That brings him to the Session View and lets him drop the Clip of the guitar part wherever he wants.
The “impactful” rule for top-line additions
He plays the song with and without the new guitar part, pointing out that when it’s not there, the overall sound has less motion. He reiterates that if he’s going to add stuff on top of an arrangement, he wants it to be impactful.
Chain Gang: Where the amp sim goes in the effects order
One of the cool things ill Factor does in the excerpt is to create a full-sounding guitar chain for his DI part. As mentioned, he uses a hybrid setup, with an analog preamp and compressor before the audio interface and a bunch of plugins afterward.
As with any effects chain, the order of the effects will impact the sound. Where you place the amp simulator is crucial.
Pedalboard logic vs DAW flexibility
If you’re a guitarist and trying to recreate the same signal chain order you use when recording through a pedalboard into a mic’d amp, you’d want to put all effects first and your amp and cabinet simulator last. The signal would go from guitar, through the pedalboard and into the amp. But when using a digital effects chain inside your DAW, it’s easy to re-order the effects and experiment. As with many aspects of music production, there is no difinitive correct answer. If it works for what you’re doing, it’s right for you.
Practical starting point: what to place before vs after the amp sim
There’s no reason you can’t put some effects before, and some after the amp. Every guitar part will be different based on the song, player, instrument and genre. That said, as a starting point, try putting effects like compressors, preamps, and distortion before the amp and cabinet sim and reverb, delay and modulation afterward.
Three Examples: Moving Amp and Cabinet changes the sound
The following three examples feature a rhythm guitar part recorded DI into Ableton Live. The effects chain is all Ableton plugins, including Amp, Cabinet, Overdrive, Compressor, EQ Eight, Delay and Hybrid Reverb.
The parameter settings are the same on all the effects in all three examples. In a way it’s an unfair comparison because you’d typically adjust various parameters to compensate for sonic changes brought on by rearranging the signal order. But to demonstrate how moving the amp and cabinet around can change things, no effects parameters were adjusted.
Example 1: Amp/Cab in the middle of the chain
In the first example, the Amp and Cabinet plugins are in the middle of the chain, with the Compressor, Overdrive and EQ Eight to the left and Delay and Hybrid Reverb to the right.
The chain with the Amp and Cabinet plugins in the middle.
Example 2: Amp/Cab at the beginning (more brittle)
The chain with the Amp and Cabinet plugins at the beginning. You’ll hear a pretty big tonal difference. It’s more brittle sounding.
Example 3: Amp/Cab at the end (reverb and delay accentuated)
The chain with the Amp and Cabinet plugins at the end. The reverb and delay are accentuated more being before the amp.
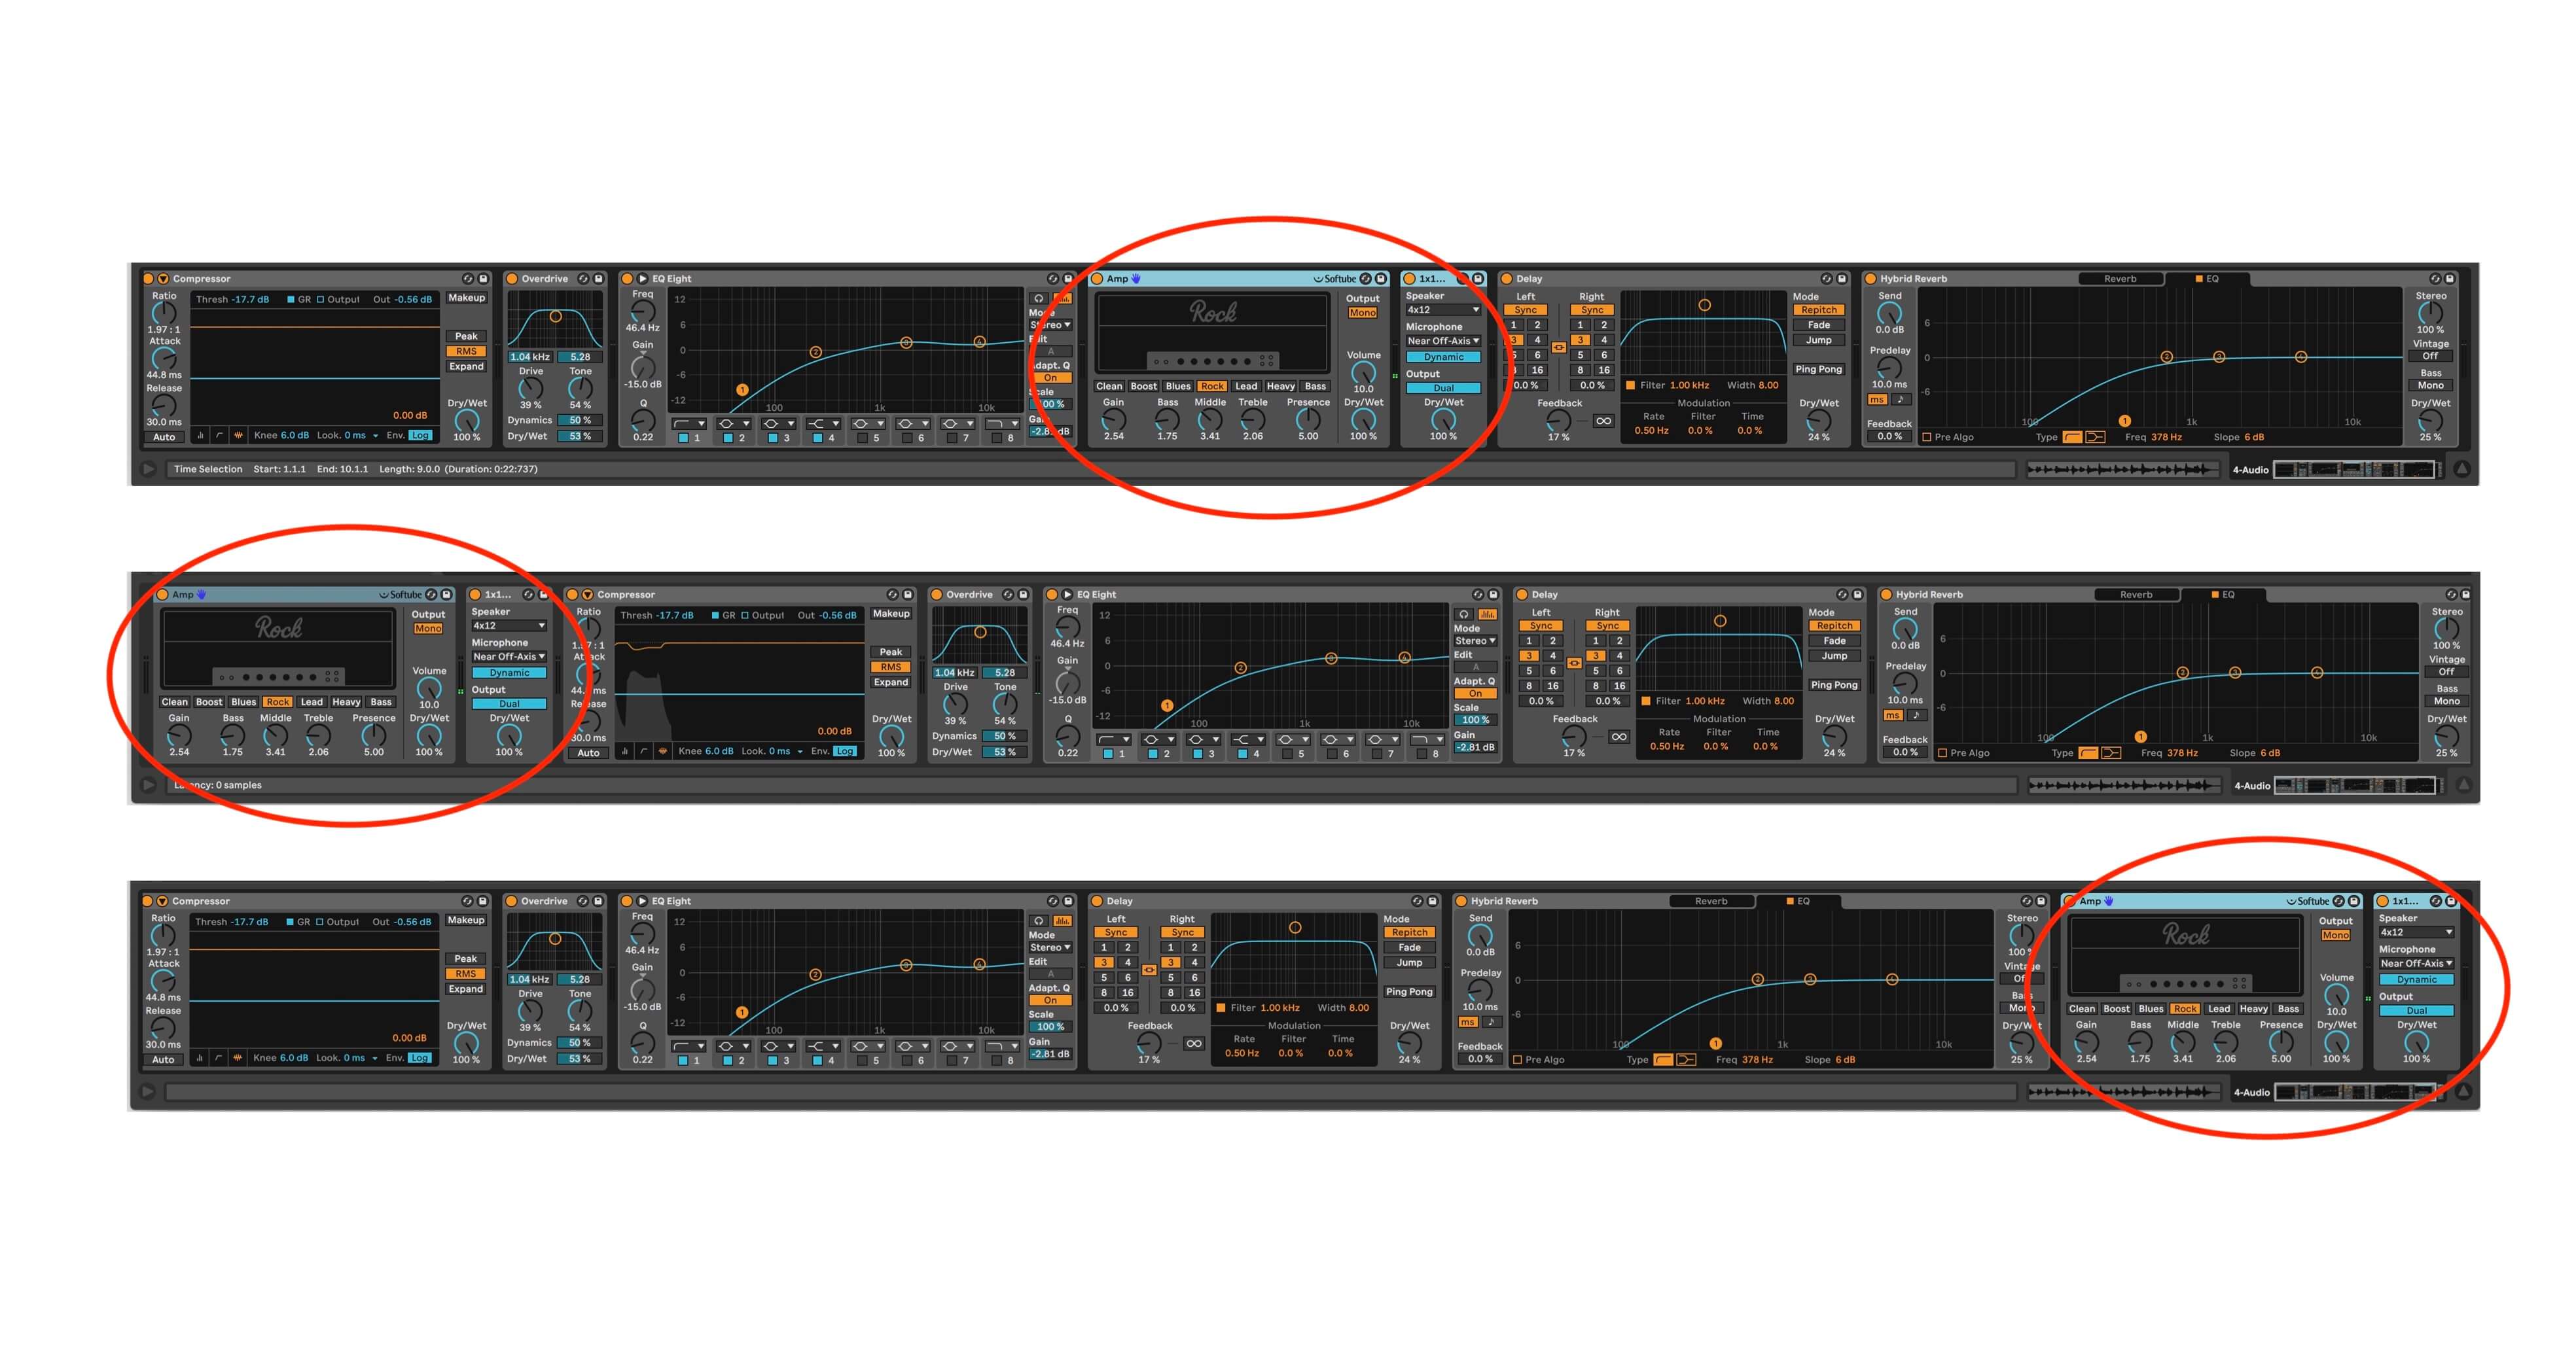
The effects chains for all three examples. The top is for the first example, the middle for the second and the bottom for the third. The amp and cabinet sim locations are circled in each.
