Chris Lord-Alge’s Drum Reverb Philosophy Explained
In this excerpt from the Chris Lord-Alge (aka "CLA") video, one of the subjects he discusses is applying reverb to drums. Of particular interest, he says that when he adds reverbs to drums in the mix, it's generally only to the signals from the indirect mics, not the direct ones. This is a very unique aspect of his mixing process which deserves to be explained in details.
Direct vs Indirect Drum Mics
What CLA Means by “Indirect Mics”
What does he mean by that? Direct mics are dedicated to one drum element such as kick, snare or hi-hat, and typically miked pretty close. Indirect mics, such as rooms or overheads are further back from the kit, and therefore pickup more room reflections.
Why He Extends the Ambience Instead of Creating It
CLA says his overall goal for applying drum reverb is to "extend the ambience." So rather than trying to create ambience on dry tracks, he's using reverb to augment the natural reflection picked up by the indirect mics.

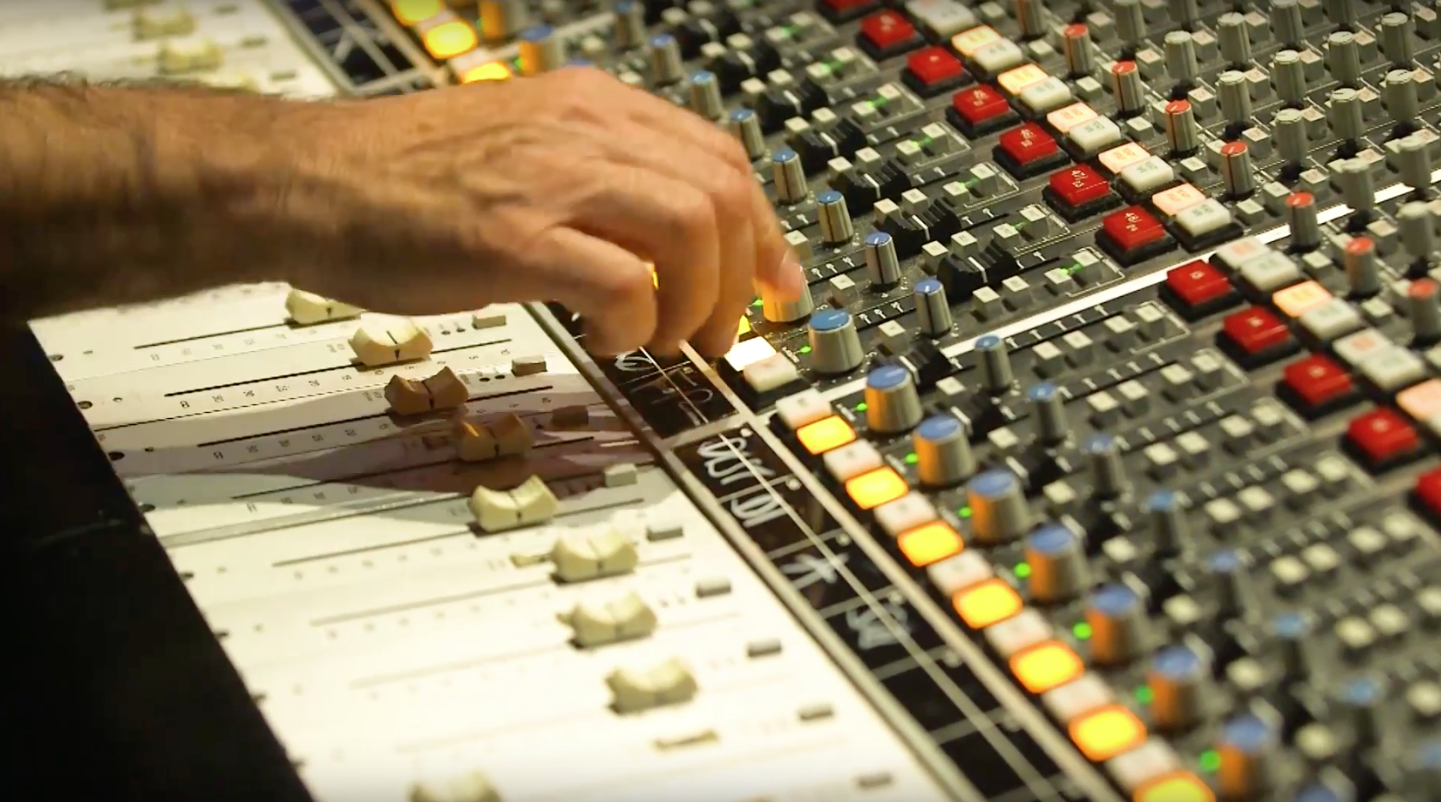
CLA’s Drum Reverb Setup
Using the Bricasti M7 with Short Decay Times
In the video, CLA uses a Bricasti M7 as one of his drum reverb units.
He likes to add reverb to drums using aux busses, rather than inserting reverbs on individual tracks. For the Daughtry song, which he says is not in need of long-decaying reverbs, he decided to set the reverb time (aka decay time) to one second (1000ms) with no pre-delay on the drums.
Why He Links Two Different Reverbs Together
In the video, CLA uses Sony and Bricasti hardware units that are linked together for the drum reverb.
How to Reproduce the Setup with Plug-ins
However, he explains that you can get pretty similar results with a pair of plug-ins set to different reverb flavors, such as a plate and a room or a chamber and a room, as long as you use the same 1-second decay/no pre-delay setting, and bring them up equally. He says that he gets a better sound with two reverbs combined rather than one, so that he can blend their differing characteristics.

CLA suggests DAW users combine reverbs together on aux sends to get a similar result to what he did with the hardware units
Why CLA Uses Aux Sends for Drum Reverbs
The Practical Limits of Hardware and Plug-ins
So why does CLA like to apply his drum reverbs via aux sends, rather than inserting them on individual drum channels? First, there are some practical considerations. Hardware reverbs are not cheap. If you insert one on an individual channel, you can't use it anywhere else in the mix (unless you print the result of it to a new track and then insert it somewhere else). No studio, not even a facility where CLA works is going to have enough reverbs to have one for every channel in a large mix.
Although there's no such limit to how many plug-in reverbs you can open in your DAW, your computer's CPU power effectively limits how many reverbs you can run at a time, and reverbs tend to be CPU hogs. So, whether it's a hardware or software reverb, running it on an aux channel is a lot more efficient.
Why Parallel Reverb Gives More Control
And then there's the artistic side. CLA talks about "feathering in" reverbs that are on auxes. What he means is that he's dialing in the reverb in parallel. The reverberated sound comes up on the aux channel's output, separate from the dry signal on the original channel's output. The wet and dry signals are not mixed together until they reach the master output (or possibly a sub-bus output).
Why Insert Reverbs Behave Differently
Conversely, if you insert a reverb directly on a recorded track, the source track or channel is going through the reverb before it hits the channel output. In that scenario, you control the amount of reverb with the plug-in's wet/dry knob, which governs the ratio of reverb to dry signal.
Understanding Pre-Delay
What Pre-Delay Actually Does
In the video, CLA talks about the pre-delay parameter on a reverb, so let's take a closer look at what it is, because it can seem a little mysterious to many people. What it does is delay the start of the reverb effect by a short, user-adjustable duration (measured in milliseconds). Pre-delay helps make reverb sound more realistic because it simulates the time it takes for sound to bounce back to your ears in a reverberant space.
For example, imagine you're in a gymnasium, and you bounce a basketball. Although the sound waves are moving at the speed of sound, it's still going to take a period of milliseconds for the first reflections (known as early reflections) to bounce off the walls and ceiling and get back to your ears.
Why Pre-Delay Makes Sounds Seem Closer
One effect of pre-delay is to make the source sound like it's closer, and another is to make the room seem larger. That may sound a bit contradictory, but it makes sense when you analyze it.
Why Longer Pre-Delay Suggests a Bigger Room
With pre-delay added, a source sounds closer because you hear the initial part of the sound dry before the reverb kicks in after the pre-delay. This can allow a vocal, for example, to cut through more and be clearer. The pre-delay also makes the reverb sound bigger because of the correlation between room size and how long it takes the reflected sound to get back to your ears.
Here are two examples that demonstrate the impact of pre-delay on reverb.
Listening Examples
Example: Guitar with and without Pre-Delay
In this example a guitar plays a four-measure rhythm part, then stops and repeats. It has reverb applied from a UAD Plate 140 plug-in on an aux track. The first time through the reverb (which has a decay time just under two seconds) has no pre-delay. When it repeats, it has a 50 ms pre-delay. Notice how the reverb effect is more intense with the pre-delay.
Example: Drums with CLA’s Reverb Timing
Here's another example of pre-delay, with reverb added to a drum kit. In the first two measures, you hear a drum kit's room mic with no added delay. In the next two measures a reverb with CLA's recommended setting of 1 second of decay time and no pre-delay kicks in. In the final two measures, 70ms of pre-delay is added to the reverb setting. Notice the differences.
By Mike Levine
Mike Levine is a music-technology journalist, as well as a composer, producer and multi-instrumentalist. Check out his website at michaelwilliamlevine.com
